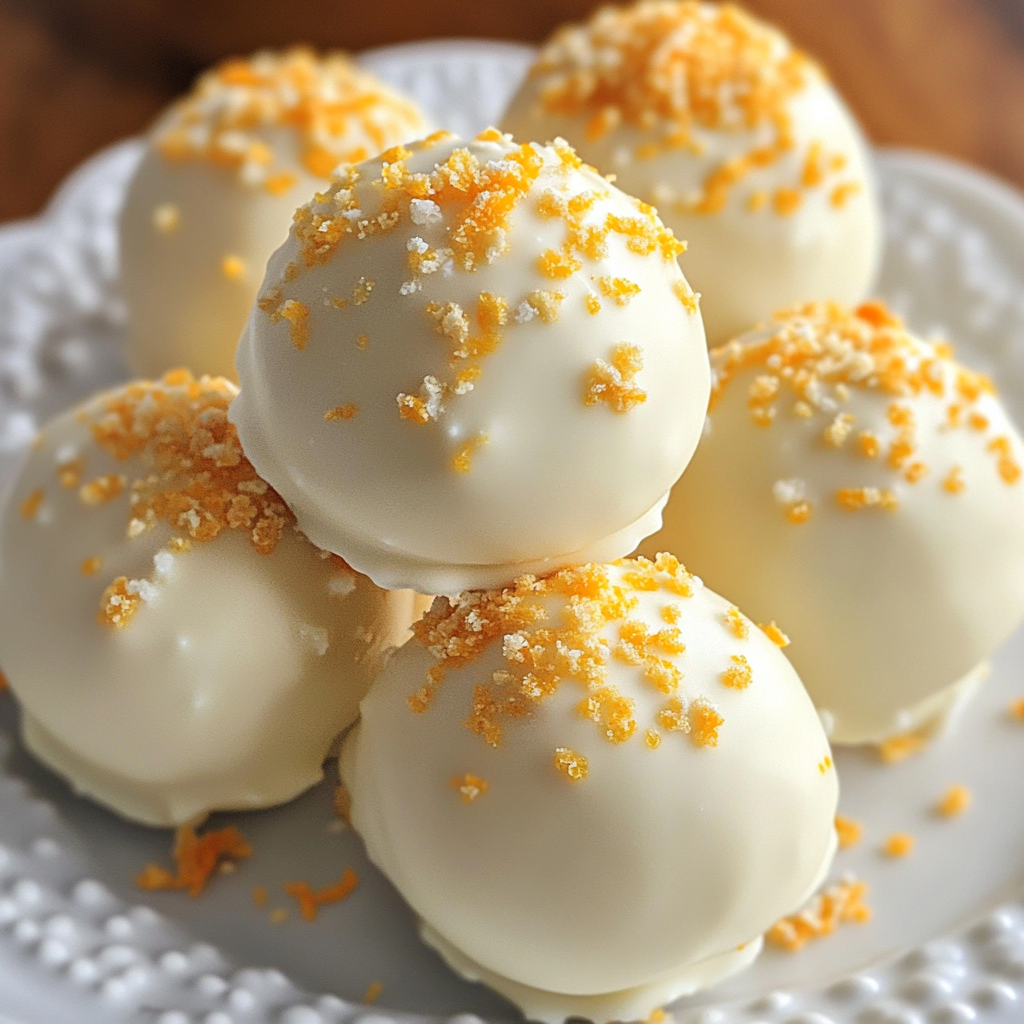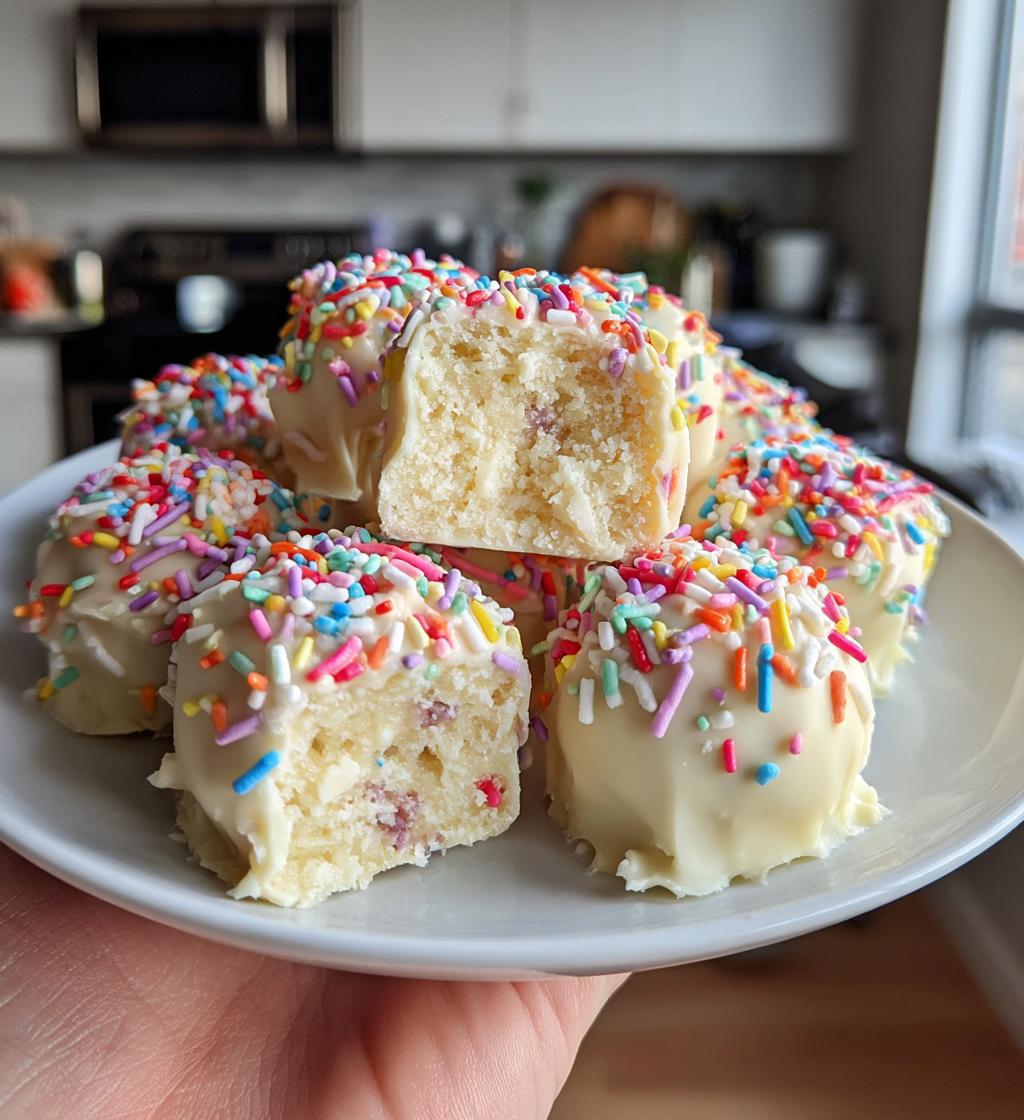
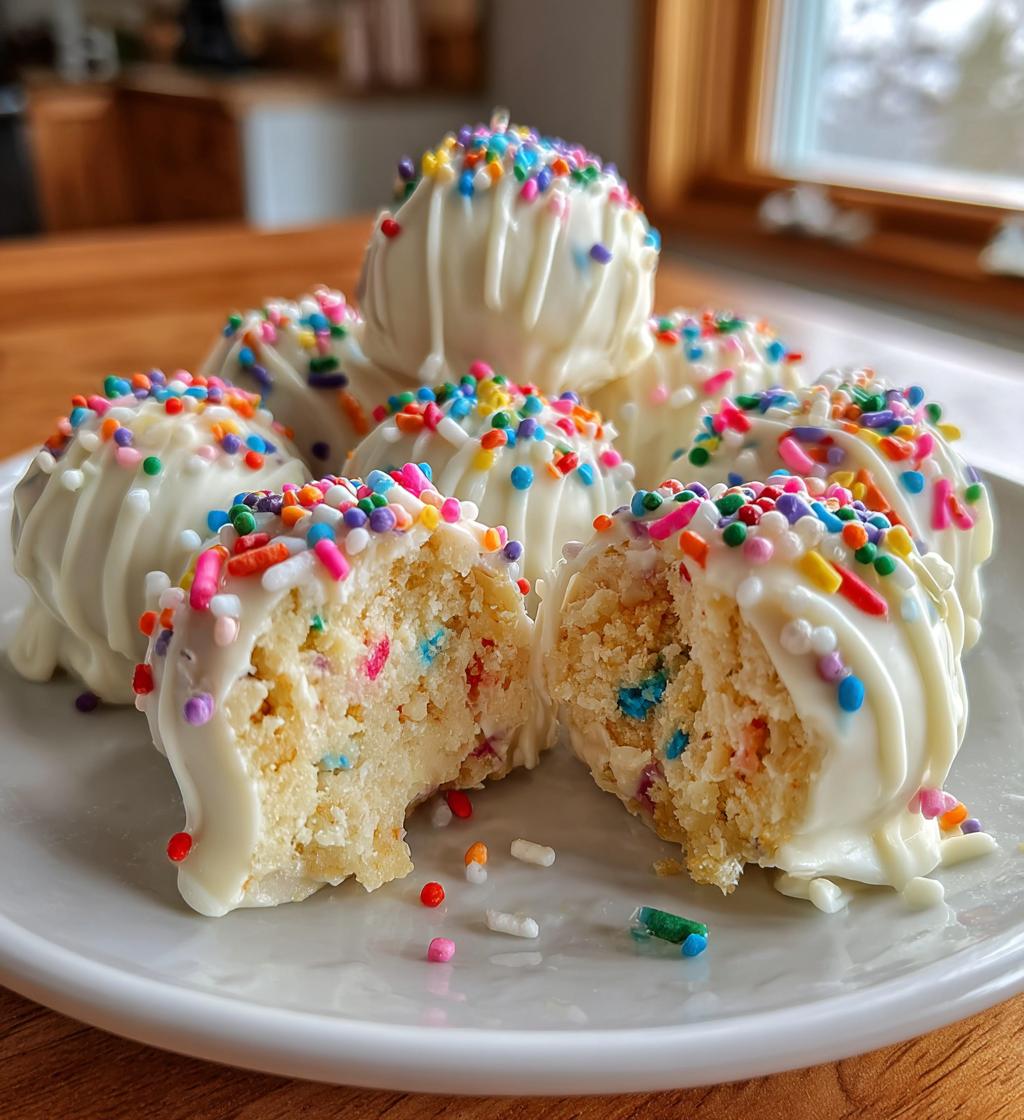
There’s something magical about celebrations, isn’t there? The air is filled with laughter, love, and oh-so-delicious treats! That’s where my Birthday Cake Truffles come in, capturing the essence of birthdays in every bite-sized piece. Picture this: you take a bite, and it’s like a party in your mouth! These little gems are packed with the flavors of classic birthday cake—sweet, creamy, and sprinkled with joy. I first made these truffles for my best friend’s surprise birthday party, and let me tell you, they vanished faster than I could say “Happy Birthday!” Everyone loved them, from kids to adults, and they’ve since become a staple at all our gatherings. Whether it’s a birthday bash or just a cozy get-together, these truffles always steal the show. Trust me, once you make them, they’ll become your go-to sweet treat for any celebration!
Ingredients List
Making these delightful Birthday Cake Truffles is super simple! Here’s what you’ll need:
- 1 cup birthday cake crumbs: You can use leftover cake or bake a fresh one. Just make sure it’s cooled completely before crumbling it up into fine pieces.
- 1/2 cup cream cheese, softened: Let the cream cheese sit at room temperature for about 30 minutes to ensure it blends smoothly with the cake crumbs.
- 1 cup white chocolate chips: These are the key to that lovely outer coating! You’ll be melting them, so make sure they’re high-quality for the best flavor.
- 1 tablespoon sprinkles: This adds that fun birthday flair! Feel free to use any colors or shapes that match your celebration theme.
Gather these ingredients, and you’ll be on your way to creating the perfect treat for any festive occasion!
How to Prepare Birthday Cake Truffles
Alright, let’s dive into the delightful process of making these Birthday Cake Truffles! It’s super simple, and I promise you’ll be amazed by how quickly they come together. Just follow these steps, and you’ll be the star of your next party!
Step 1: Mix the Base
To start, grab a mixing bowl and combine the birthday cake crumbs with the softened cream cheese. I like to use a spatula or a sturdy spoon to really blend them together until the mixture is smooth and creamy. You want it to be well incorporated, so there are no dry bits left behind—this consistency is key for rolling into perfect truffles!
Step 2: Form the Truffles
Next up, it’s time to roll that delicious mixture into small balls! I usually aim for about 1-inch in diameter—just the right size for popping in your mouth! If your hands get a bit sticky, don’t worry; a light dusting of powdered sugar on your palms can help. Place the rolled balls on a parchment-lined baking sheet as you go. They don’t have to be perfect; a little irregularity makes them homey!
Step 3: Melt the Chocolate
Now, let’s melt those white chocolate chips! I recommend doing this in a microwave-safe bowl. Heat them in 30-second intervals, stirring in between until they’re completely melted and smooth. Be careful not to overheat; burnt chocolate is a tragedy! If you have a double boiler, that works great too—just make sure the bowl doesn’t touch the water!
Step 4: Dip and Decorate
Once your chocolate is melted and velvety, dip each truffle ball into the chocolate, using a fork to help coat it evenly. Let the excess chocolate drip off before transferring them back to the baking sheet. While the coating is still wet, sprinkle on those fun sprinkles for that festive touch! This is where you can really let your creativity shine!
Step 5: Chill and Set
Finally, it’s chilling time! Pop the tray of truffles into the fridge for about 30 minutes or until the chocolate has set. This step is crucial because it helps the coating firm up nicely, making them easier to handle. Plus, it gives you a moment to sneak a taste of the deliciousness that awaits!
Tips for Success
To ensure your Birthday Cake Truffles turn out perfectly every time, here are some handy tips that I’ve learned along the way:
- Use fresh cake crumbs: If you’re using leftover cake, make sure it’s fresh and not too dry. This keeps your truffles moist and delicious!
- Be patient with the cream cheese: Letting it soften to room temperature is key for a smooth blend. No one likes lumpy truffles!
- Watch the chocolate closely: When melting, stir frequently and heat in short bursts. Overheating can ruin the chocolate, so keep an eye on it!
- Experiment with toppings: Don’t feel limited to sprinkles! Crushed nuts or coconut flakes can add a delightful twist.
- Chill before serving: A bit of extra chill time can enhance the texture and flavor, making them even more irresistible!
With these tips, you’ll be on your way to creating truffles that are not just tasty but also a hit at any celebration!
Nutritional Information
Let’s talk about the delicious details of these Birthday Cake Truffles! Each truffle is a little bite of joy, and here’s what you can expect in terms of nutrition:
- Calories: 120
- Sugar: 10g
- Fat: 7g
- Saturated Fat: 4g
- Unsaturated Fat: 2g
- Trans Fat: 0g
- Carbohydrates: 13g
- Fiber: 0g
- Protein: 1g
- Cholesterol: 10mg
- Sodium: 30mg
Keep in mind that these values are estimates and can vary based on the specific ingredients you use. Enjoying these truffles in moderation is key to balancing the sweetness with a bit of indulgence!
FAQ Section
Got questions about making Birthday Cake Truffles? Don’t worry, I’ve got you covered! Here are some common queries I often hear:
Can I use different types of cake for the crumbs?
Absolutely! You can use any cake flavor you love, from vanilla to chocolate or even red velvet. Just make sure it’s a moist cake for the best results!
How should I store these truffles?
Store your Birthday Cake Truffles in an airtight container in the refrigerator. They’ll stay fresh for about a week—if they last that long! Just let them sit at room temperature for a few minutes before serving for the best taste.
Can I freeze these truffles?
Yes! They freeze beautifully. Just place them in a single layer on a baking sheet to freeze individually, then transfer them to a freezer-safe container. They can be stored for up to three months. Thaw them in the fridge before enjoying!
What if I don’t have white chocolate chips?
No problem! You can substitute with dark chocolate or milk chocolate chips. Just keep an eye on the melting process, as different chocolates may require slightly different handling.
Can I make these truffles vegan?
Definitely! Use vegan cream cheese and dairy-free chocolate chips for a delicious vegan version. They’ll still be just as fun and festive!
Why You’ll Love This Recipe
Let me tell you, there are so many reasons to fall in love with these Birthday Cake Truffles! They’re not just adorable; they’re a total game-changer for any celebration. Here are a few reasons why you’ll want to whip these up:
- Quick and Easy: With just a handful of ingredients and no baking required, you can have a delightful treat ready in no time!
- Crowd-Pleaser: Trust me, everyone will adore these truffles—kids and adults alike! They’re perfect for parties, potlucks, or just a sweet surprise for loved ones.
- Customizable: Feel free to get creative! Change up the cake flavors or toppings to match the occasion, making each batch uniquely yours.
- No Fuss: These truffles are easy to make, even for beginner bakers. You won’t need any fancy equipment—just some bowls and your hands!
- Deliciously Fun: Each bite is a burst of birthday flavor, bringing back those nostalgic party vibes that’ll make you smile with every taste!
Once you try these truffles, I promise they’ll become a staple in your dessert repertoire!
Storage & Reheating Instructions
Storing your Birthday Cake Truffles is a breeze! Just pop them into an airtight container and keep them in the refrigerator. They’ll stay fresh and tasty for about a week, so you can savor the sweetness a little longer! If you want to enjoy them at their best, let them sit out for a few minutes before indulging; this helps restore that delightful creamy texture.
Feeling like you made too many? No worries! These truffles freeze beautifully. Just lay them out in a single layer on a baking sheet to freeze individually, then transfer them to a freezer-safe container. They can be stored like this for up to three months. When you’re ready for a sweet treat, simply thaw them in the fridge overnight. There’s no need for reheating—just pop one in your mouth and enjoy the party all over again!
Print
Birthday Cake Truffles: 5 Magical Bites for Celebration
- Total Time: 30 minutes
- Yield: 24 truffles 1x
- Diet: Vegetarian
Description
Delicious birthday cake truffles coated in chocolate.
Ingredients
- 1 cup birthday cake crumbs
- 1/2 cup cream cheese, softened
- 1 cup white chocolate chips
- 1 tablespoon sprinkles
Instructions
- Mix cake crumbs and cream cheese until smooth.
- Roll mixture into small balls.
- Melt white chocolate chips.
- Dip each ball into the melted chocolate.
- Sprinkle with additional sprinkles.
- Chill until set.
Notes
- Store in the refrigerator.
- Use any cake flavor you like.
- Make sure chocolate is fully melted before dipping.
- Prep Time: 20 minutes
- Cook Time: 10 minutes
- Category: Dessert
- Method: No-bake
- Cuisine: American
Nutrition
- Serving Size: 1 truffle
- Calories: 120
- Sugar: 10g
- Sodium: 30mg
- Fat: 7g
- Saturated Fat: 4g
- Unsaturated Fat: 2g
- Trans Fat: 0g
- Carbohydrates: 13g
- Fiber: 0g
- Protein: 1g
- Cholesterol: 10mg
Keywords: Birthday Cake Truffles