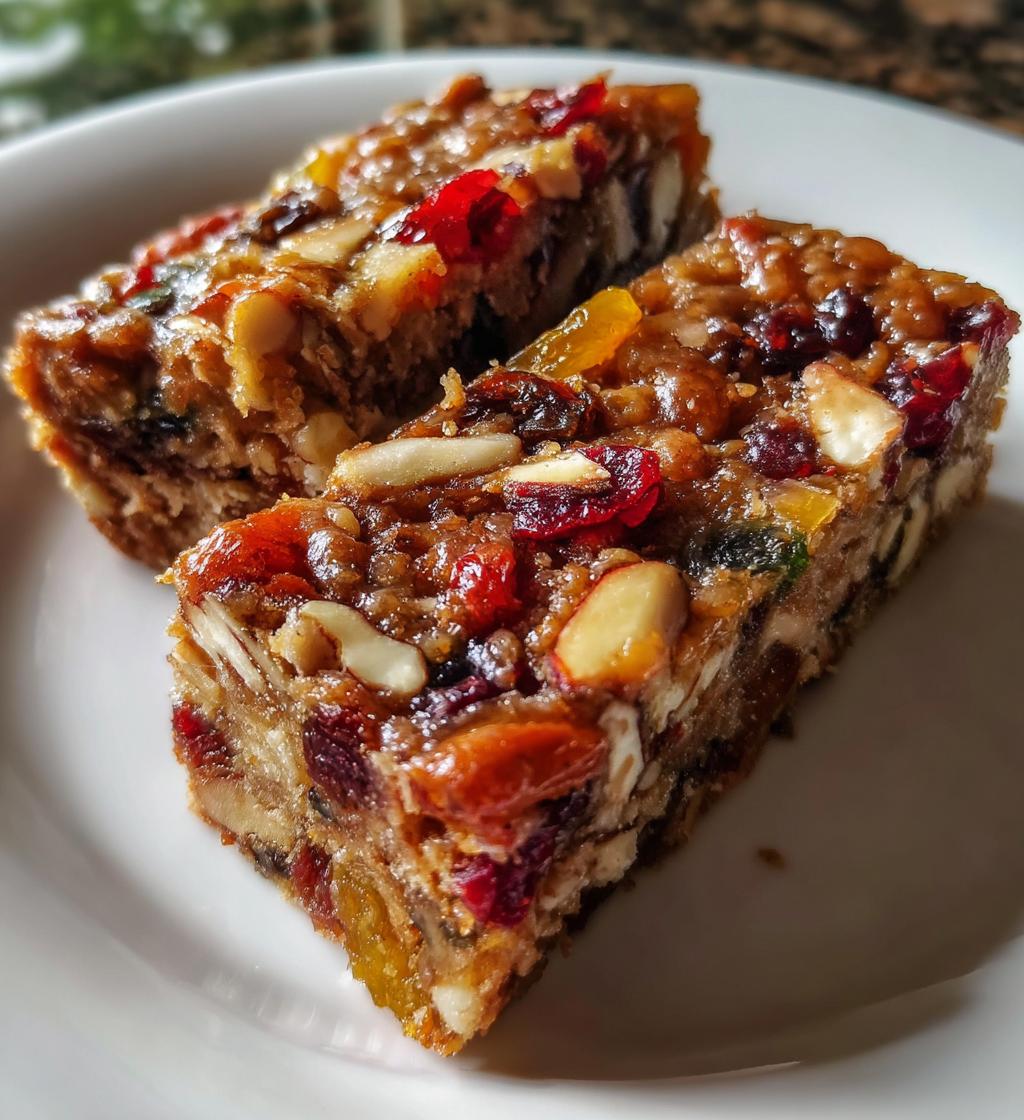
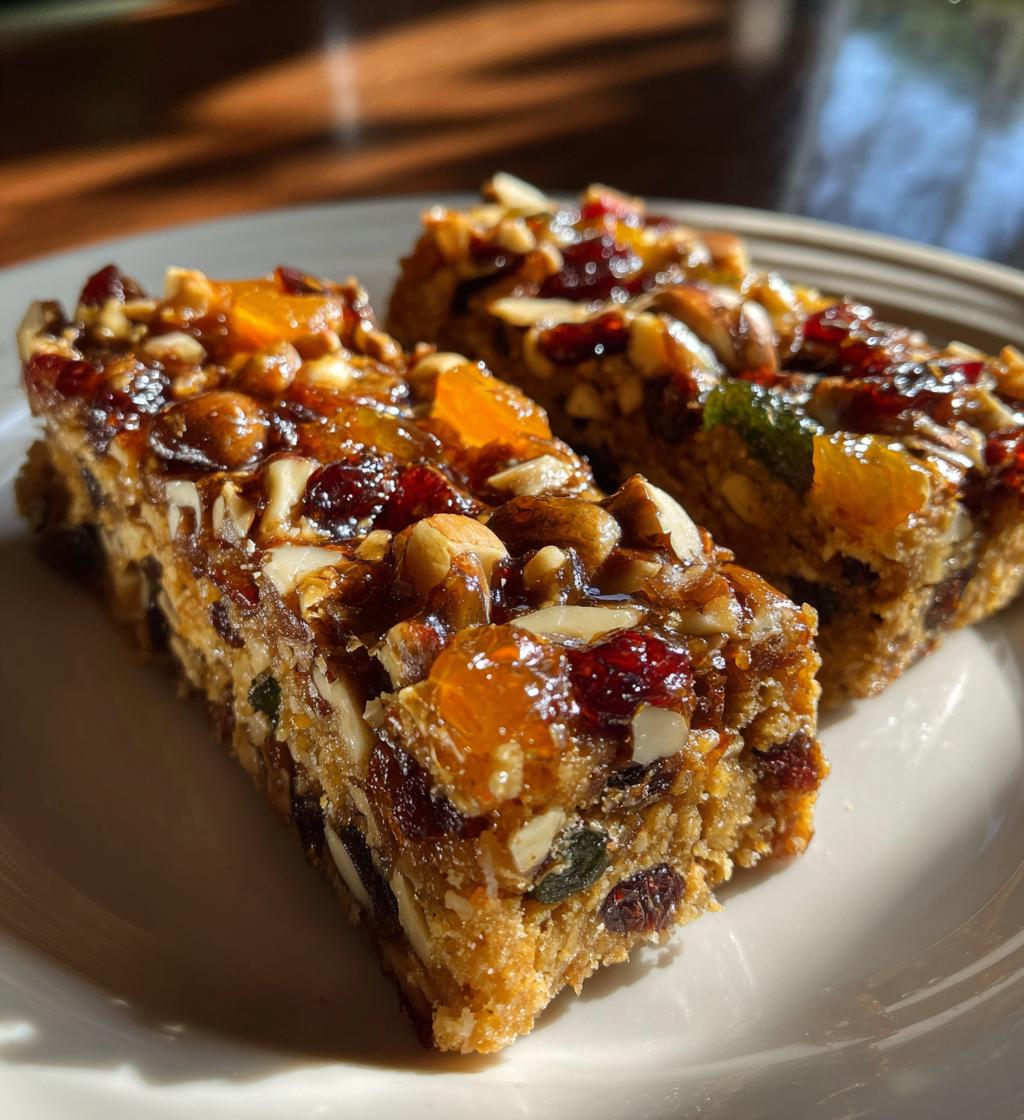
Ah, the holiday season! It always brings a special warmth to my heart, filled with family gatherings, laughter, and of course, delicious treats. One dessert that has become a cherished part of our holiday traditions is my Holiday Fruitcake Bars. You might be surprised, but fruitcake doesn’t have to be the dense, heavy cake that gets a bad rap! Instead, these bars are a delightful twist on the classic, bursting with vibrant dried fruits and crunchy nuts. Each bite feels like a hug, reminding me of cozy afternoons spent baking with my grandma. She always said, “Food made with love tastes the best,” and trust me, these bars are made with just that! They’re perfect for sharing at holiday parties or enjoying with a cup of tea by the fire. Plus, they’re so easy to whip up that you’ll find yourself making them again and again. So, let’s dive into this recipe and create something special together!
Ingredients for Holiday Fruitcake Bars
Gathering the right ingredients is the first step to making these delightful Holiday Fruitcake Bars. Here’s what you’ll need:
- 1 cup mixed dried fruits (such as raisins, cranberries, and apricots, chopped if large)
- 1/2 cup chopped nuts (walnuts, pecans, or almonds work beautifully)
- 1 cup all-purpose flour
- 1/2 cup packed brown sugar
- 1/4 cup unsalted butter, melted
- 2 large eggs
- 1 teaspoon vanilla extract
- 1/2 teaspoon baking powder
- 1/4 teaspoon salt
Make sure your dried fruits are nice and soft for the best flavor, and don’t be afraid to get creative with the nuts! This combination sets the stage for a festive treat that’s both chewy and crunchy.
How to Prepare Holiday Fruitcake Bars
Now that you’ve gathered your ingredients, it’s time to get those Holiday Fruitcake Bars baking in your kitchen! You’ll find that this process is as enjoyable as the delicious outcome. Let’s walk through each step together, and I promise you’ll be rewarded with a sweet treat that’s perfect for the holidays!
Step-by-Step Instructions
- Preheat your oven: First things first, preheat your oven to 350°F (175°C). This ensures your bars will bake evenly and come out perfectly golden brown.
- Mix the dried fruits and nuts: In a medium bowl, combine your mixed dried fruits and chopped nuts. Give them a gentle stir to distribute everything evenly. This way, each bar will have a delightful mix of flavors and textures!
- Combine dry ingredients: In another large bowl, whisk together the all-purpose flour, packed brown sugar, baking powder, and salt. Make sure those dry ingredients are well mixed so your bars rise beautifully.
- Add the wet ingredients: Now, it’s time to introduce the melted unsalted butter, eggs, and vanilla extract to the dry ingredients. Mix everything together until just combined. It’s okay if your batter looks a little lumpy; we want to avoid overmixing here!
- Fold in the fruit and nut mixture: Gently fold the dried fruit and nut mixture into the batter using a spatula. This is where the magic happens, so be careful not to break up the fruits too much!
- Prepare your baking pan: Grab a greased baking pan (an 8×8-inch square pan works great), and pour the delicious batter into it, spreading it evenly with your spatula. This helps ensure every bar bakes uniformly.
- Bake to perfection: Pop the pan in the preheated oven and bake for about 25-30 minutes. You’ll know they’re ready when they turn a lovely golden brown and a toothpick inserted into the center comes out clean or with just a few moist crumbs.
- Cool and cut: Once out of the oven, let the bars cool in the pan for about 10 minutes. Then, carefully transfer them to a wire rack to cool completely. Once cool, cut them into squares or bars, and get ready to enjoy!
These bars can be made ahead of time, too! Just store them in an airtight container, and they’ll stay fresh for up to a week. Now, wasn’t that easy? Get ready to share these delightful Holiday Fruitcake Bars with your loved ones!
Why You’ll Love These Holiday Fruitcake Bars
These Holiday Fruitcake Bars are a true delight for several reasons! Here’s why you’ll want to make them a staple in your holiday baking:
- Quick and Easy: With just a 15-minute prep time, you can whip up these bars in a flash, leaving you more time to enjoy the festivities.
- Flavorful Combinations: The mix of sweet dried fruits and crunchy nuts creates a delightful taste sensation that’s both familiar and exciting.
- Make Ahead: You can prepare these bars in advance, making them perfect for busy holiday weeks or last-minute gatherings.
- Versatile Treat: They’re delicious on their own but also pair beautifully with coffee or tea, making them great for holiday brunches.
- Kid-Friendly: These bars are a hit with both kids and adults, making them the perfect addition to your family celebrations.
Tips for Success
Getting these Holiday Fruitcake Bars just right is all about a few simple tips that can elevate your baking game. Trust me, these little tricks make a world of difference!
- Storage is Key: Once cooled, store your bars in an airtight container at room temperature. They’ll stay fresh for up to a week, but I bet they won’t last that long! For longer storage, you can wrap them tightly and freeze them for up to three months.
- Ingredient Swaps: Feel free to switch up the dried fruits and nuts based on what you have on hand. Dried cherries or figs can add a wonderful twist, and if you’re a fan of nuts, try hazelnuts or macadamia nuts for a change!
- Spice It Up: For an extra layer of flavor, consider adding a teaspoon of cinnamon or nutmeg to the dry ingredients. It’ll make your kitchen smell heavenly while baking!
- Don’t Overmix: Mix your batter just until combined. Overmixing can lead to dense bars instead of the light, chewy texture we’re aiming for. A few lumps are perfectly fine!
- Cutting Tips: To get nice, clean cuts, use a sharp knife and let the bars cool completely before slicing. Wipe the knife with a damp cloth between cuts for neat edges!
With these tips, you’ll be well on your way to perfecting your Holiday Fruitcake Bars every single time. Happy baking!
Variations for Holiday Fruitcake Bars
One of the best things about these Holiday Fruitcake Bars is how easily you can customize them to suit your taste or what you have in your pantry. Here are some fun variations to keep things interesting:
- Mix Up the Fruits: Instead of the usual dried fruits, try using dried cherries, figs, or even tropical fruits like mango or pineapple for a unique twist.
- Change the Nuts: Switch out walnuts for pecans, or use cashews for a buttery flavor. Almonds add a nice crunch too!
- Chocolate Delight: Fold in a cup of chocolate chips or chunks for a rich and decadent variation that chocolate lovers will adore.
- Spicy Kick: Add a pinch of ground ginger or a dash of allspice for a warm, spicy flavor that pairs perfectly with the sweetness of the fruits.
- Citrus Zing: Incorporate some orange or lemon zest into the batter for a fresh, zesty note that brightens up the flavors.
Experimenting with these variations will make your Holiday Fruitcake Bars even more special, creating new family favorites year after year!
Nutritional Information Disclaimer
Keep in mind that the nutritional information for these Holiday Fruitcake Bars is an estimate and can vary based on the specific ingredients and brands you use. Factors like the type of dried fruits, nuts, and even the size of your bars can influence the final numbers. For the most accurate information, I recommend calculating the nutrition based on your exact ingredients. Enjoy these delicious treats as part of a balanced diet, and remember, it’s all about moderation and savoring every bite!
FAQ About Holiday Fruitcake Bars
Got questions about these delightful Holiday Fruitcake Bars? Don’t worry; I’ve got you covered! Here are some common queries that pop up when baking these festive treats:
- Can I use fresh fruit instead of dried? Unfortunately, fresh fruit won’t work as well in this recipe. Dried fruits provide the right texture and sweetness without adding too much moisture, which is crucial for the bars to hold together.
- How do I store the bars for maximum freshness? Once cooled, keep your Holiday Fruitcake Bars in an airtight container at room temperature. They’ll stay fresh for up to a week. For longer storage, wrap them tightly and freeze for up to three months!
- Can I make these bars gluten-free? Absolutely! Just swap out the all-purpose flour for a gluten-free blend, and you’re good to go. Make sure to check your other ingredients for gluten as well.
- What’s the best way to cut these bars? For clean cuts, use a sharp knife and let the bars cool completely. Wipe the knife with a damp cloth between cuts to keep those edges nice and neat!
- Can I add more nuts or fruits? Yes! Feel free to adjust the quantities of nuts or add more dried fruits to your liking. Just remember that too much can affect the texture, so a little goes a long way!
Hopefully, these answers help you as you embark on your baking adventure with these Holiday Fruitcake Bars! Enjoy every moment and every bite!
Storage & Reheating Instructions
Once you’ve baked your delightful Holiday Fruitcake Bars, it’s essential to store them properly to keep that fresh, delicious taste. Allow the bars to cool completely before storing. Place them in an airtight container at room temperature, where they’ll stay nice and fresh for up to a week. If you’re like me and want to enjoy them longer, you can wrap individual bars in plastic wrap and then place them in a freezer-safe bag. They’ll keep well in the freezer for up to three months!
When you’re ready to enjoy a bar, there’s no need for complicated reheating! Just take it out of the freezer and let it thaw at room temperature for about 30 minutes. If you prefer them warm, pop them in the microwave for about 10-15 seconds. This little touch brings back that fresh-baked goodness. Enjoy every bite, whether fresh or heated up!
Holiday Fruitcake Bars: 7 Heartwarming Twists to Try
- Total Time: 45 minutes
- Yield: 16 bars 1x
- Diet: Vegetarian
Description
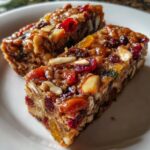
Delicious holiday fruitcake bars filled with dried fruits and nuts.
Ingredients
- 1 cup mixed dried fruits
- 1/2 cup chopped nuts
- 1 cup all-purpose flour
- 1/2 cup brown sugar
- 1/4 cup unsalted butter, melted
- 2 eggs
- 1 teaspoon vanilla extract
- 1/2 teaspoon baking powder
- 1/4 teaspoon salt
Instructions
- Preheat the oven to 350°F (175°C).
- In a bowl, mix dried fruits and nuts.
- In another bowl, combine flour, sugar, baking powder, and salt.
- Add melted butter, eggs, and vanilla to the dry ingredients.
- Stir in the fruit and nut mixture.
- Pour the batter into a greased baking pan.
- Bake for 25-30 minutes until golden brown.
- Let cool before cutting into bars.
Notes
- Store in an airtight container.
- Can be made a week in advance.
- For extra flavor, add spices like cinnamon or nutmeg.
- Prep Time: 15 minutes
- Cook Time: 30 minutes
- Category: Dessert
- Method: Baking
- Cuisine: American
Nutrition
- Serving Size: 1 bar
- Calories: 150
- Sugar: 10g
- Sodium: 50mg
- Fat: 6g
- Saturated Fat: 2g
- Unsaturated Fat: 4g
- Trans Fat: 0g
- Carbohydrates: 22g
- Fiber: 1g
- Protein: 3g
- Cholesterol: 30mg
Keywords: Holiday Fruitcake Bars