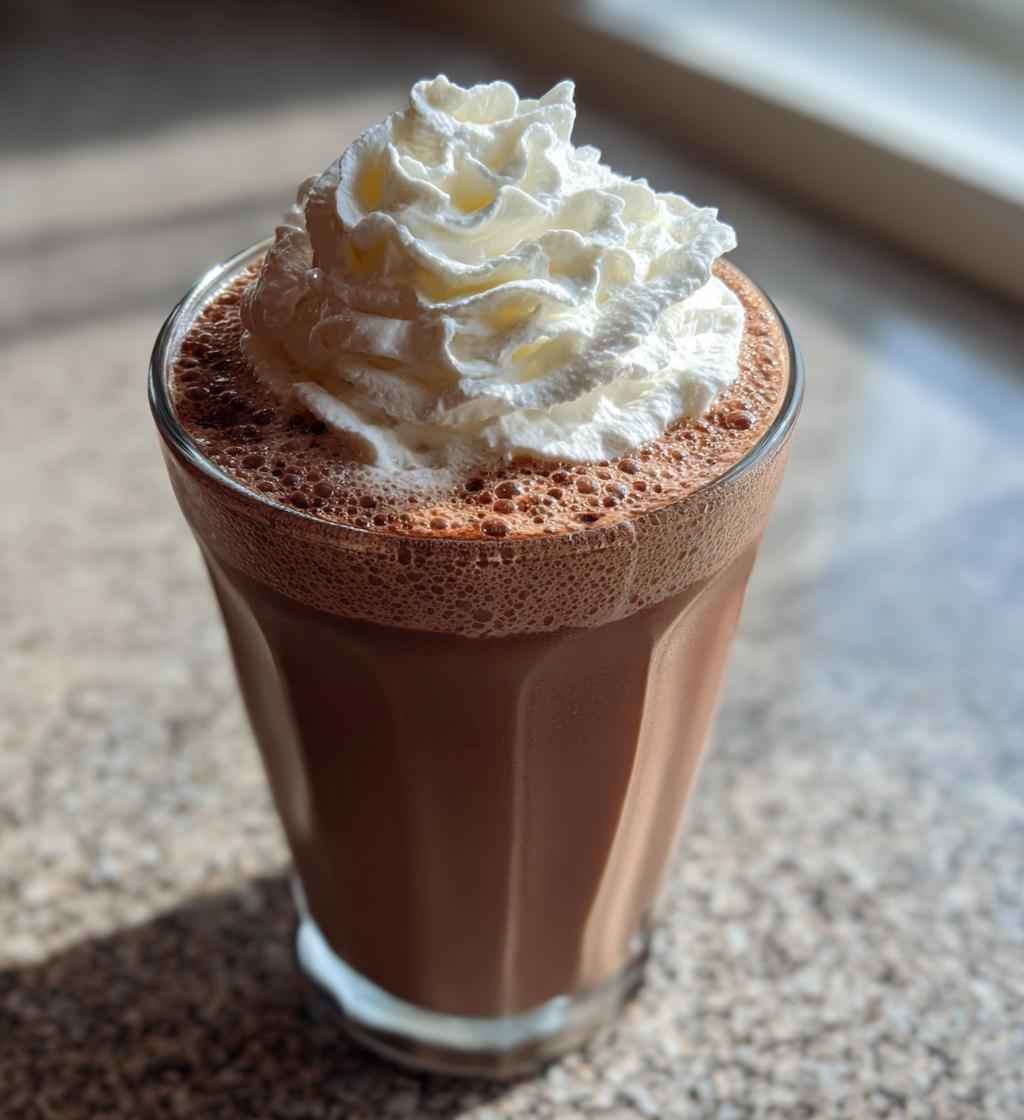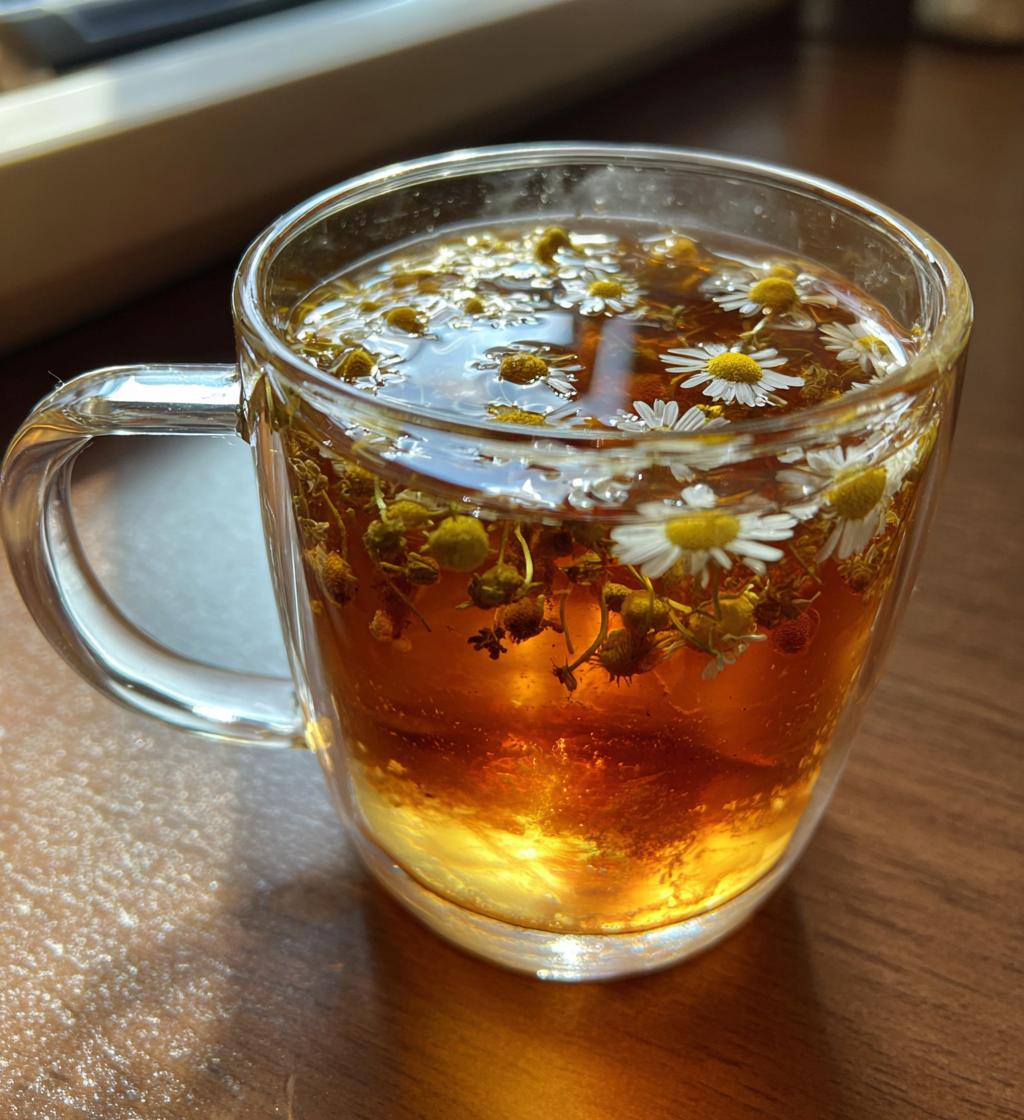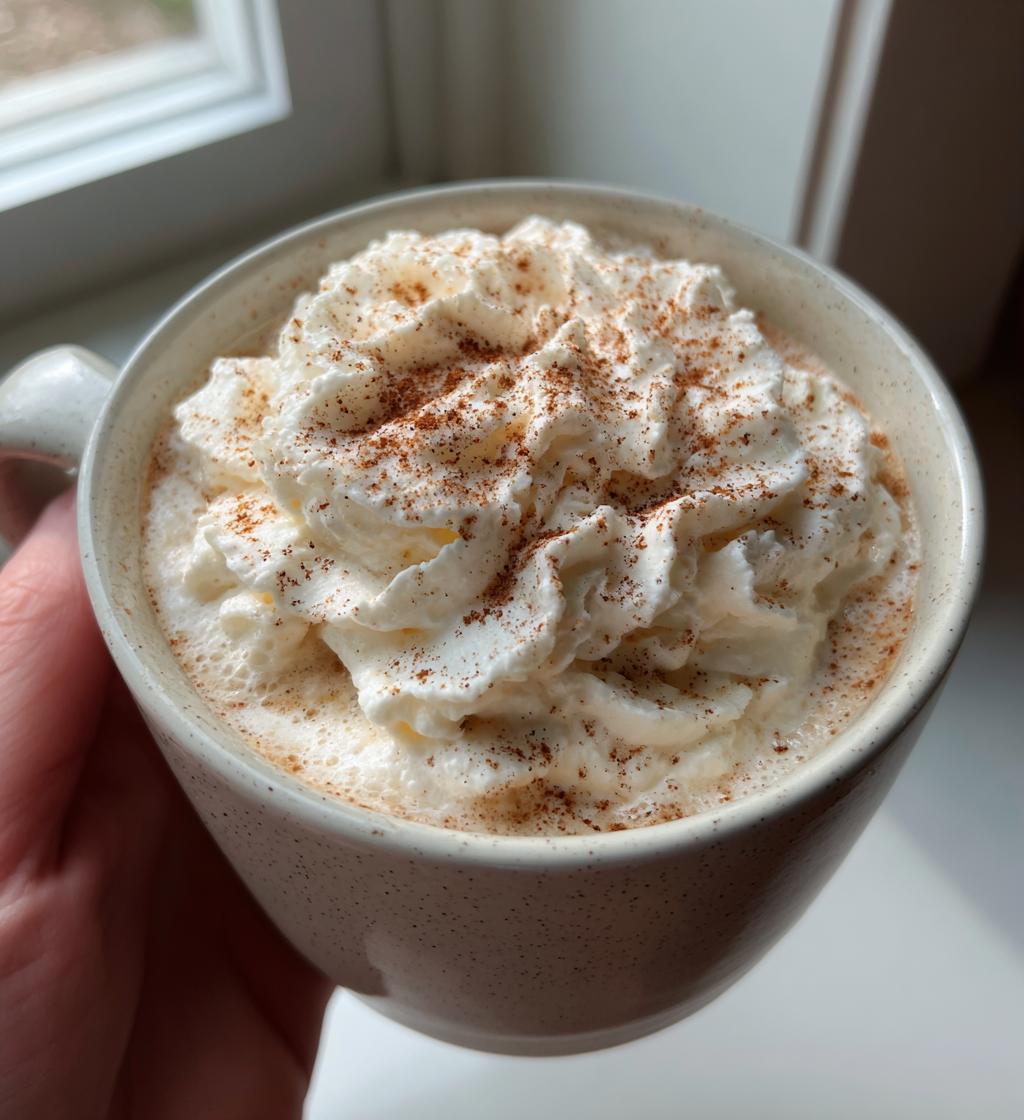
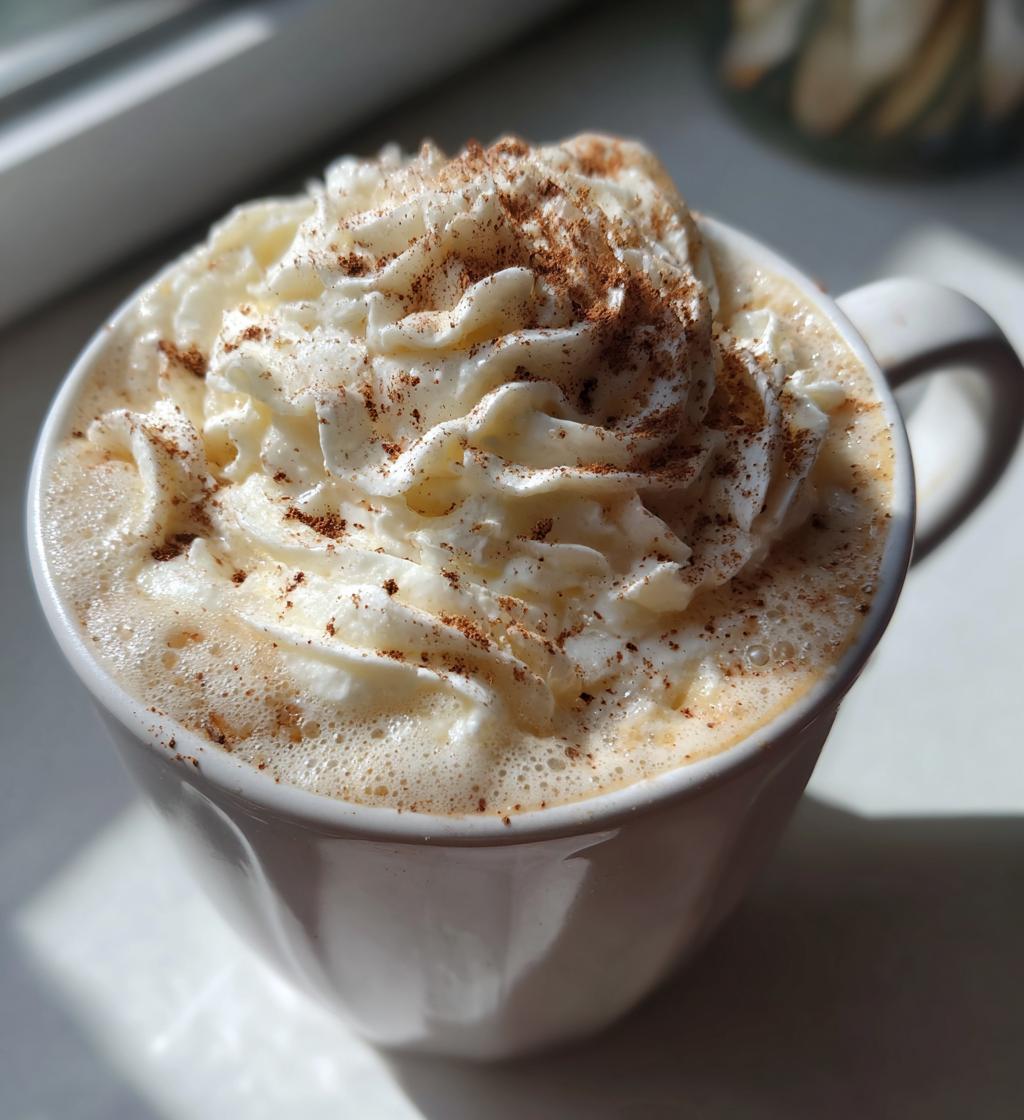
There’s nothing quite like the comfort of a warm drink on a chilly day, and my absolute favorite is a Homemade Vanilla Steamer. Picture this: it’s a crisp winter afternoon, the snow is gently falling outside, and I’m wrapped up on the couch with a cozy blanket. That’s when I whip up this delightful drink, filled with creamy steamed milk and a touch of vanilla sweetness. It’s so simple to make, and the aroma fills my kitchen with warmth. The best part? I can customize it however I like! Whether I’m in the mood for extra vanilla syrup or a sprinkle of cinnamon on top, it’s always perfect. This drink instantly transports me to a cozy café, and I can’t help but smile as I sip on it, feeling all my worries melt away. Trust me, you’ll want to add this to your go-to warm beverage list!
Ingredients List
To make your Homemade Vanilla Steamer, you’ll need just a few simple ingredients that come together beautifully. Here’s what you’ll need:
- 2 cups milk (any kind you prefer – dairy, almond, or oat works great!)
- 2 tablespoons vanilla syrup (feel free to adjust this to suit your sweet tooth!)
- Whipped cream (optional, but oh-so-delicious on top!)
- Ground cinnamon (optional, for that cozy finish)
Gather these ingredients, and you’ll be ready to create a warm hug in a cup!
How to Prepare Your Homemade Vanilla Steamer
Making your Homemade Vanilla Steamer is a breeze, and I promise you’ll love every step! Just follow along, and in no time, you’ll have a cozy cup in your hands. Let’s get started!
Step 1: Heat the Milk
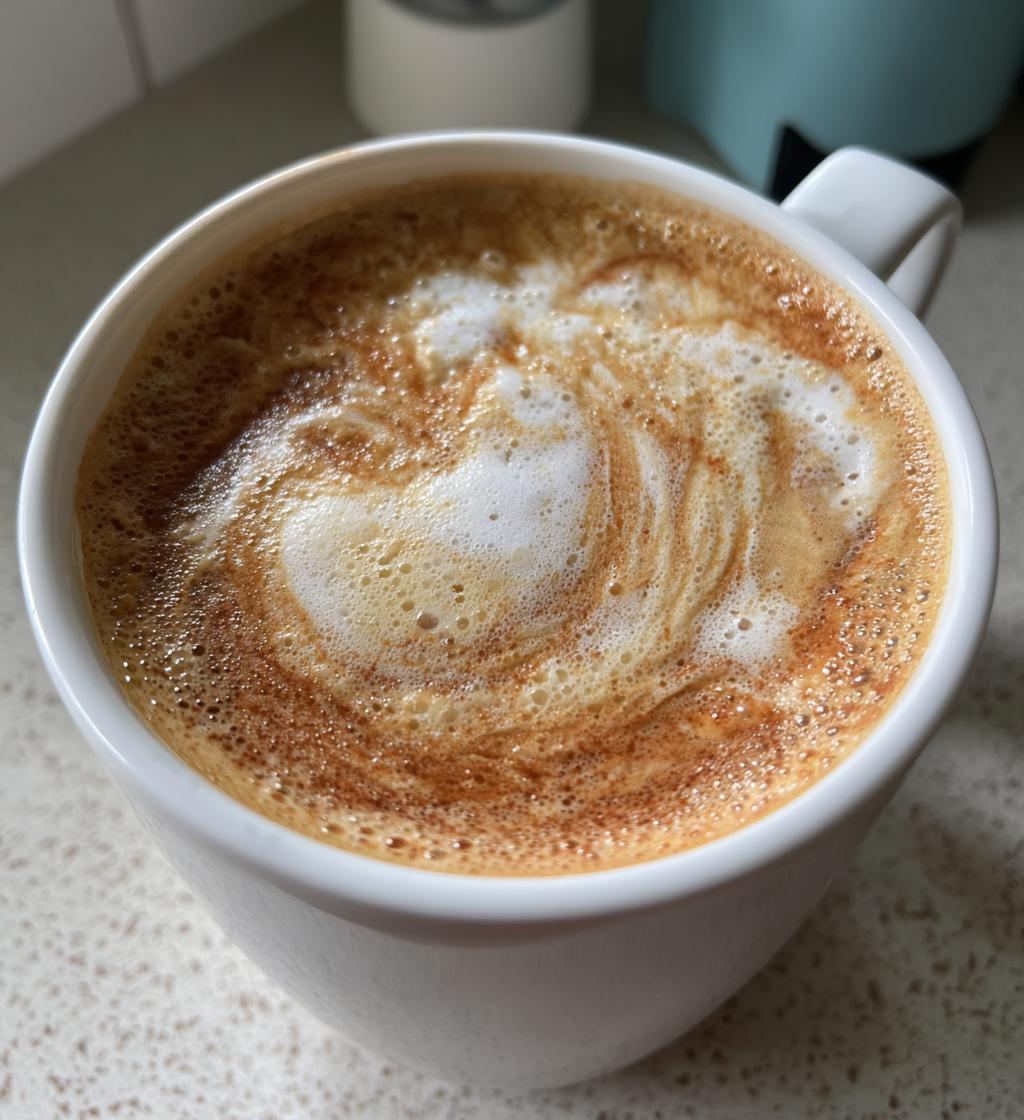
First, grab a medium saucepan and pour in your 2 cups of milk. Set the heat to medium and gently warm the milk until it’s steaming. Be careful not to let it boil, though! You want that perfect cozy warmth without any frothy mess splattering over the edge.
Step 2: Whisk Until Frothy
Once your milk is steaming, it’s time for the fun part! Use a whisk or, if you have one, a frother to whisk the milk vigorously until it becomes nice and frothy. This should take about 1-2 minutes. You’re looking for that light, airy froth that makes every sip feel like a warm hug!
Step 3: Add Vanilla Syrup
Now it’s time to sweeten the deal! Remove the saucepan from the heat and stir in your 2 tablespoons of vanilla syrup. Give it a good mix to combine everything well. If you’re like me and love a little extra sweetness, don’t hesitate to adjust the syrup to your taste. Yum!
Step 4: Pour and Serve
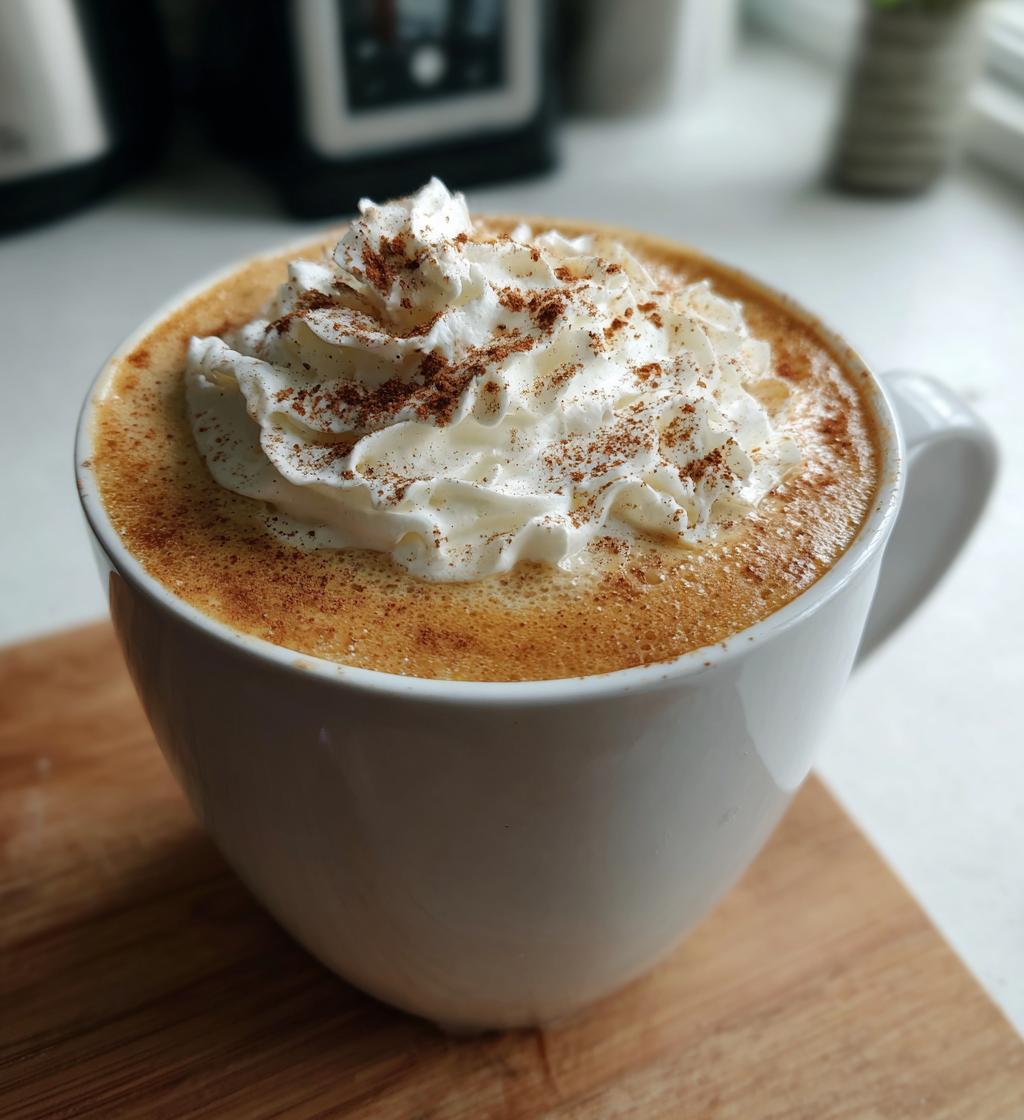
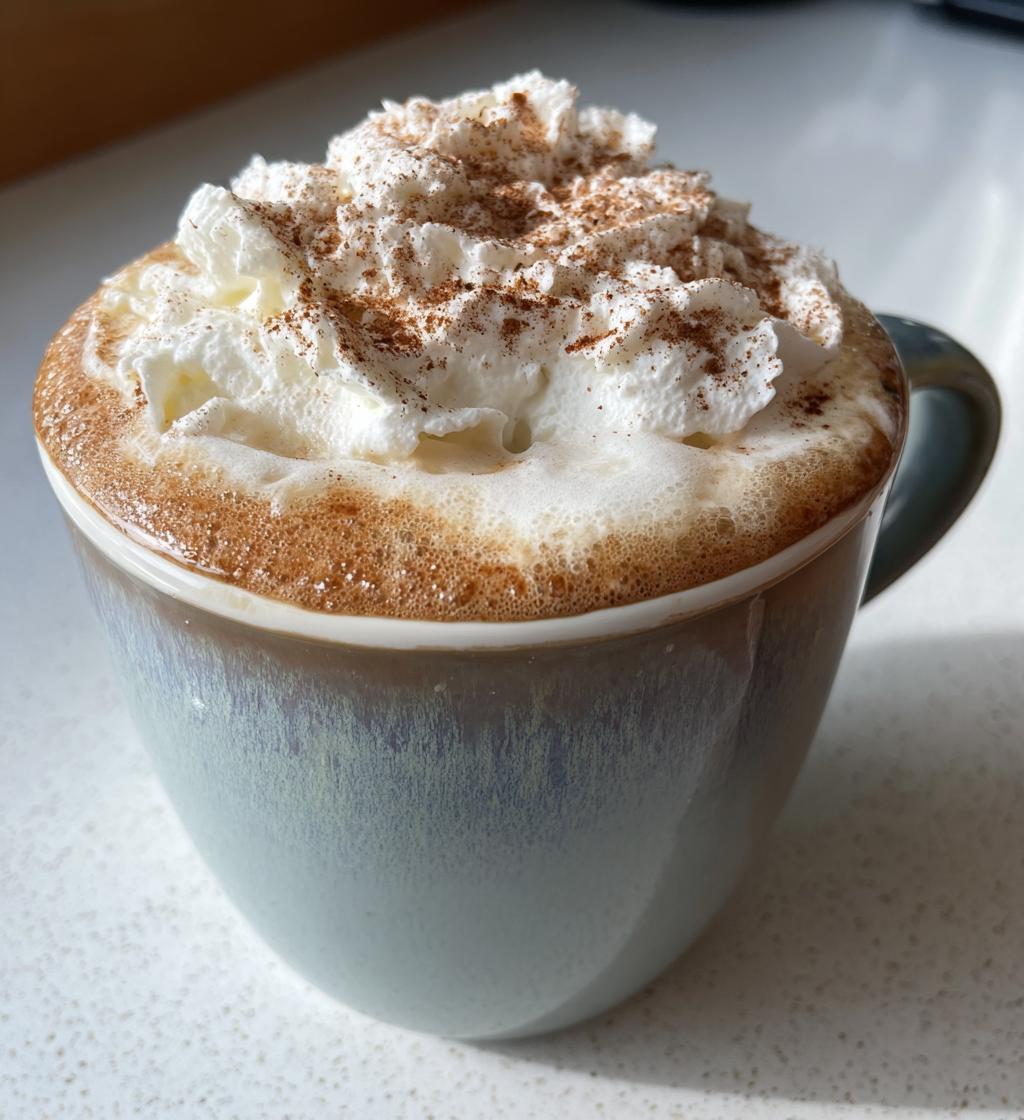
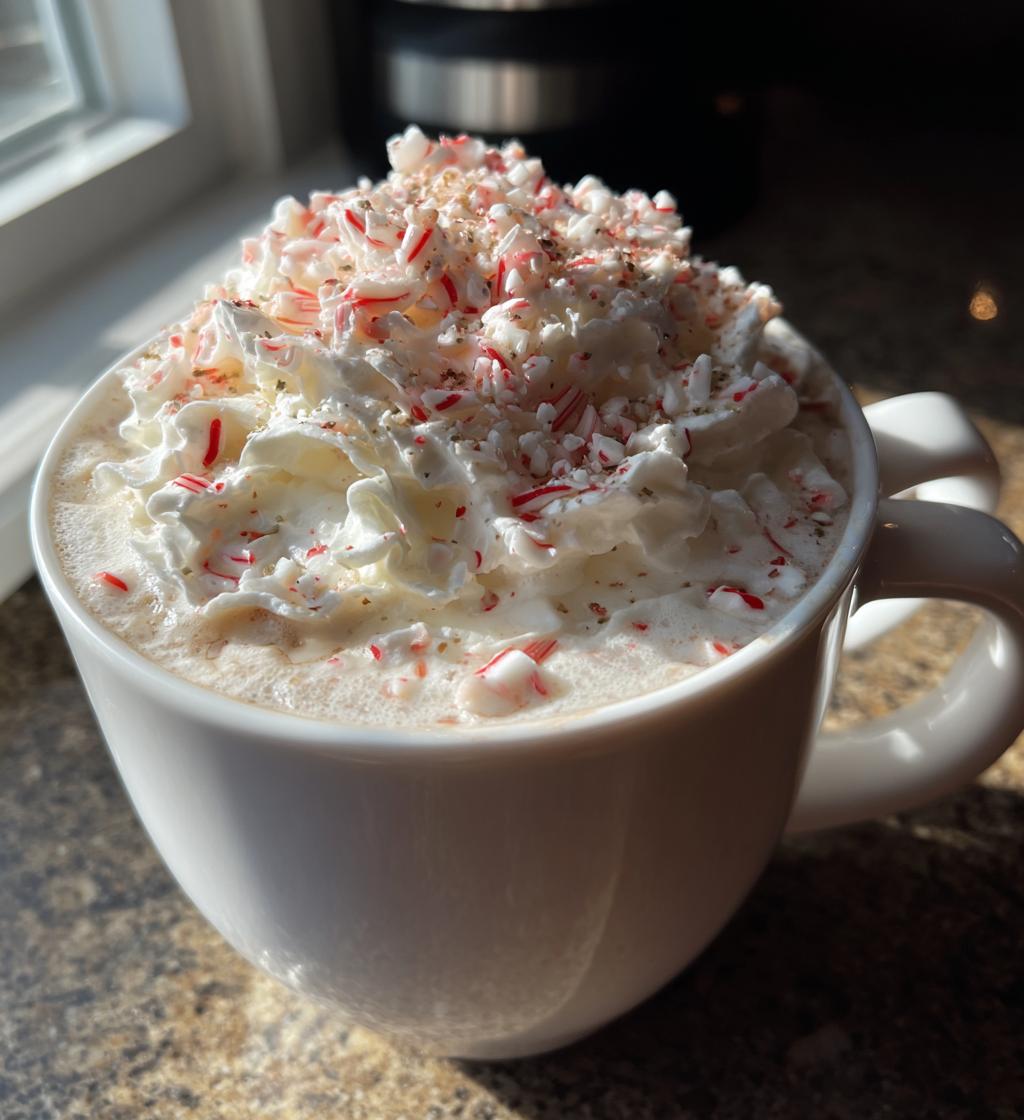
Finally, it’s time to enjoy your creation! Pour the delicious vanilla-infused milk into your favorite cup. If you’re feeling a bit indulgent, top it off with a dollop of whipped cream and a sprinkle of ground cinnamon. There you have it – your perfect Homemade Vanilla Steamer ready to be savored!
Why You’ll Love This Recipe
This Homemade Vanilla Steamer is a delightful treat that you’ll want to make again and again! Here’s why it’s become a staple in my kitchen:
- Quick Preparation: You can whip this up in just 10 minutes – perfect for busy mornings or cozy evenings!
- Comforting Flavor: The creamy, sweet vanilla flavor wraps around you like a warm blanket, making it the ultimate comfort drink.
- Customizable: Adjust the sweetness or add your favorite toppings – whether it’s extra whipped cream or a dash of cinnamon, it’s all up to you!
- Versatile: With different milk options, you can cater to any dietary preference or craving!
Trust me, once you try it, you’ll be hooked!
Tips for Success
To ensure your Homemade Vanilla Steamer turns out perfectly every time, here are some of my favorite tips! First, experiment with different types of milk – dairy, almond, oat, or even soy – to find your perfect match. Each brings its own unique flavor and creaminess. For sweetness, start with the recommended 2 tablespoons of vanilla syrup, but feel free to adjust according to your taste. If you like it sweeter, go for it! When frothing the milk, a whisk works well, but if you have a handheld frother, it can give you that café-quality foam in a snap. Enjoy your cozy drink!
Nutritional Information
When you’re sipping on your Homemade Vanilla Steamer, it’s nice to know what you’re enjoying! Here’s a general breakdown of the nutritional values you can expect per serving (1 cup). Keep in mind these are estimates:
- Calories: 150
- Fat: 7g
- Saturated Fat: 4g
- Cholesterol: 20mg
- Protein: 6g
- Carbohydrates: 15g
- Sugar: 12g
- Sodium: 100mg
These numbers can vary based on the type of milk you choose and any extra toppings you add, but this comforting drink is sure to warm your heart and fill you up with joy!
FAQ Section
Got questions about your Homemade Vanilla Steamer? Don’t worry, I’ve got you covered! Here are some common queries that pop up:
- Q: Can I use a different type of milk for my Vanilla Drink?
Absolutely! You can use dairy, almond, oat, or any milk you love. Each type brings a unique flavor and texture! - Q: How can I make my steamer sweeter?
If you prefer a sweeter drink, just add more vanilla syrup! Start with the recommended 2 tablespoons, then adjust to your taste. - Q: Is it okay to make a larger batch of Steamed Milk?
Of course! Just multiply the ingredients by the number of servings you want. Just be mindful of your saucepan size! - Q: Can I make this drink without a frother?
Definitely! A good whisk works just fine. Just whisk vigorously until the milk is frothy! - Q: What toppings do you recommend for my Vanilla Steamer?
Whipped cream and a sprinkle of cinnamon are classic choices! You could also try chocolate shavings or a drizzle of caramel for a twist!
Enjoy experimenting with your Homemade Vanilla Steamer! It’s all about finding what makes your heart sing!
Storage & Reheating Instructions
If you happen to have any leftovers of your Homemade Vanilla Steamer (which is rare in my house!), you can store it in an airtight container in the fridge for up to 2 days. When you’re ready to enjoy it again, simply pour it into a saucepan and gently warm it over low heat. Stir occasionally to keep it smooth and creamy. Avoid boiling it, as that can ruin the delightful frothiness! If you’d like, you can freshen it up with a splash of vanilla syrup or a sprinkle of cinnamon before serving. Enjoy your cozy drink all over again!


Homemade Vanilla Steamer: 4 Steps to Pure Cozy Bliss
- Total Time: 10 minutes
- Yield: 2 servings 1x
- Diet: Vegetarian
Description
A simple and comforting drink made with steamed milk and vanilla flavor.
Ingredients
- 2 cups milk
- 2 tablespoons vanilla syrup
- Whipped cream (optional)
- Ground cinnamon (optional)
Instructions
- Heat the milk in a saucepan over medium heat.
- Whisk the milk until it is frothy and steaming.
- Add the vanilla syrup to the milk and stir well.
- Pour the mixture into a cup.
- Top with whipped cream and a sprinkle of cinnamon if desired.
Notes
- You can use any type of milk: dairy, almond, or oat.
- Adjust the amount of vanilla syrup based on your taste preference.
- Prep Time: 5 minutes
- Cook Time: 5 minutes
- Category: Beverage
- Method: Stovetop
- Cuisine: American
Nutrition
- Serving Size: 1 cup
- Calories: 150
- Sugar: 12g
- Sodium: 100mg
- Fat: 7g
- Saturated Fat: 4g
- Unsaturated Fat: 2g
- Trans Fat: 0g
- Carbohydrates: 15g
- Fiber: 0g
- Protein: 6g
- Cholesterol: 20mg
Keywords: Homemade Vanilla Steamer, Vanilla Drink, Steamed Milk