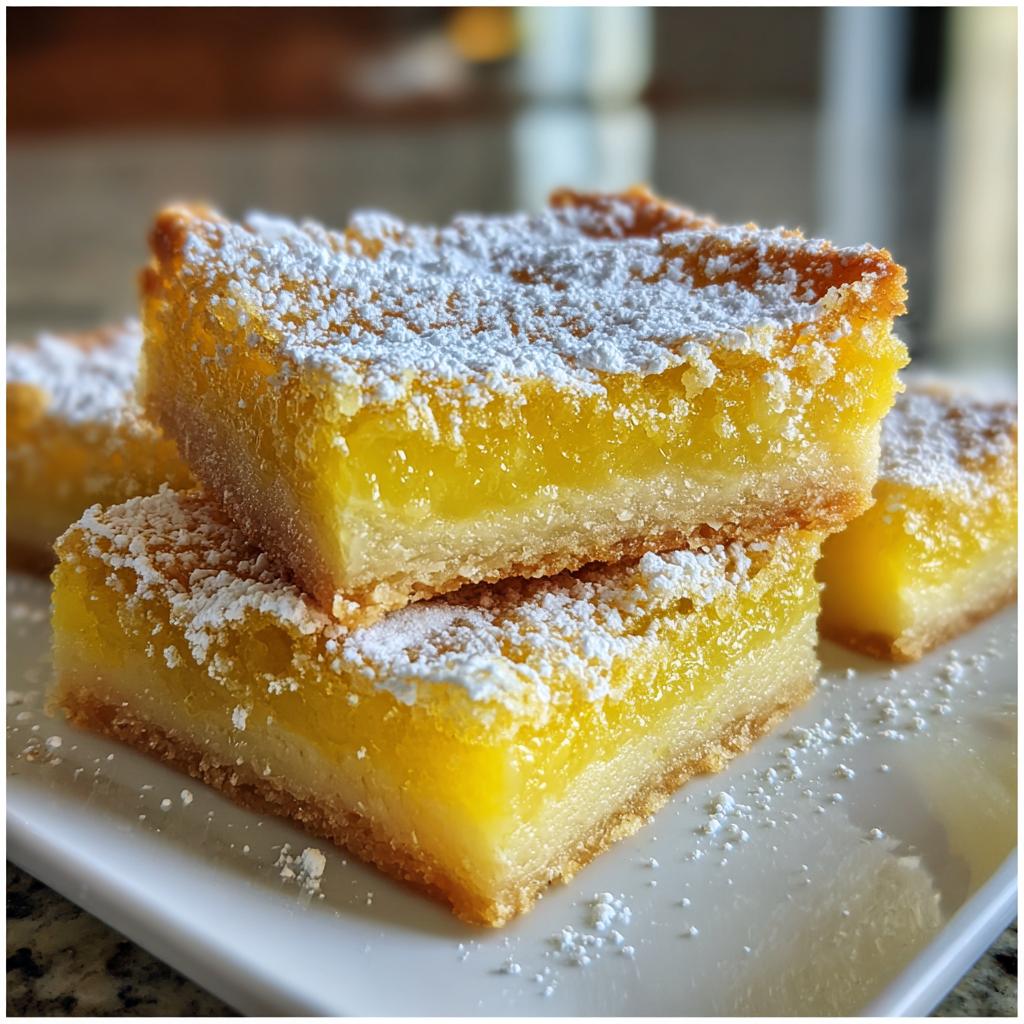
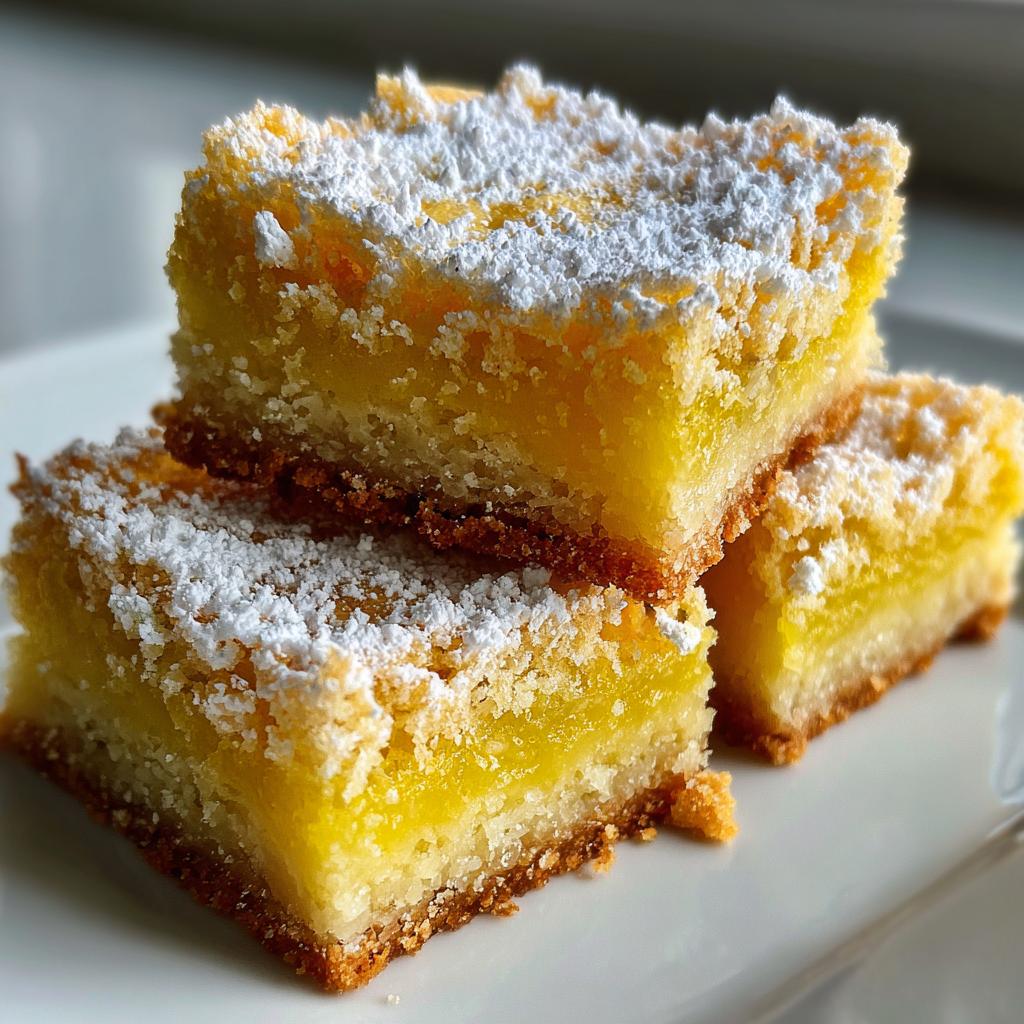
Oh, let me tell you about my love affair with lemon bars! There’s just something magical about that perfect balance of sweet and tangy that makes my taste buds dance with joy. I remember the first time I tasted a lemon bar at a summer picnic; I was instantly hooked by the zesty flavor and that buttery, crumbly crust. It felt like sunshine in every bite! From that moment on, I set out to create my own version of lemon bars that would be just as delightful.
What I adore about lemon bars is how they can brighten up any occasion. Whether you’re hosting a backyard barbecue, celebrating a birthday, or simply need a sweet pick-me-up, these bars are the perfect treat. They’re easy to make, and the ingredients are usually already in your pantry. Plus, they’re a crowd-pleaser—everyone loves that refreshing zing! Trust me, once you take a bite, you won’t be able to stop at just one. So, roll up your sleeves, and let’s get ready to whip up the best lemon bars you’ll ever taste!
Ingredients
To create those delightful lemon bars, you’ll need just a handful of simple ingredients. Here’s what you’ll want to gather:
- 1 cup all-purpose flour
- 1/2 cup unsalted butter, softened to room temperature
- 1 cup granulated sugar
- 2 large eggs
- 1/4 cup fresh lemon juice (the juicier, the better!)
- 1 teaspoon lemon zest (don’t skip this for that extra zing)
- 1/2 teaspoon baking powder
- 1/4 teaspoon salt
These ingredients come together to create a deliciously tangy and sweet dessert that’s sure to impress. Make sure your butter is softened—it makes mixing so much easier and helps achieve that perfect crust. Now that you’ve got your ingredients ready, let’s dive into how to prepare these luscious lemon bars!
How to Prepare Lemon Bars
Making lemon bars is a delightful adventure that’s both simple and rewarding! The process is quick, and the results are oh-so-satisfying. Let’s get started with the step-by-step instructions to ensure you create the perfect lemon bars every time!
Step-by-Step Instructions
- Preheat the oven: First things first, you’ll want to preheat your oven to 350°F (175°C). This is crucial because we want our lemon bars to bake evenly and achieve that lovely golden hue.
- Make the crust: In a medium-sized mixing bowl, combine the 1 cup of all-purpose flour and 1/2 cup of softened unsalted butter. Using a fork or your hands, mix these until the mixture becomes crumbly. It should resemble wet sand. This step is key for a buttery crust!
- Press the mixture into the pan: Take your crumbly mixture and press it firmly into the bottom of a greased 9×9 inch baking pan. Make sure it’s evenly spread out—this will be the delicious base of your lemon bars.
- Bake the crust: Pop the pan into your preheated oven and bake for about 15 minutes, or until the edges start to turn a light golden brown. This is where the magic begins!
- Prepare the filling: While the crust is baking, grab another bowl. Whisk together 1 cup of granulated sugar, 2 large eggs, 1/4 cup of fresh lemon juice, 1 teaspoon of lemon zest, 1/2 teaspoon of baking powder, and 1/4 teaspoon of salt. Make sure everything is well combined and smooth—this filling is the star of the show!
- Combine the layers: Once the crust is done baking, carefully pour the lemon filling over the hot crust. Don’t worry if it seems a bit runny; it’ll set perfectly as it bakes.
- Bake the lemon bars: Return the pan to the oven and bake for another 20 minutes. You’ll know they’re done when the filling is just set and slightly wobbly in the center—this is what creates that luscious texture we’re after.
- Cool and cut: After baking, let the lemon bars cool completely in the pan. This is crucial for slicing! Once cooled, you can cut them into squares or rectangles, whatever suits your fancy.
And there you have it! Your homemade lemon bars are ready to be devoured. Just remember, they taste even better after chilling in the fridge for a bit. So, if you can resist, let them chill for an hour before serving. Enjoy this sweet and tangy treat—you deserve it!
Nutritional Information
Before we dig into these delicious lemon bars, I want to remind you that the nutritional values can vary based on the specific ingredients and brands you use. So, keep that in mind when you’re calculating the impact on your diet!
On average, each lemon bar contains about:
- Calories: 150
- Fat: 7g
- Saturated Fat: 4g
- Trans Fat: 0g
- Cholesterol: 40mg
- Sodium: 50mg
- Carbohydrates: 20g
- Fiber: 0g
- Sugar: 12g
- Protein: 2g
These numbers can help you enjoy your treat with a bit of awareness. Happy baking!
Why You’ll Love This Recipe
- Quick and Easy: You can whip up these lemon bars in no time, making them perfect for last-minute gatherings!
- Tangy and Sweet: The delightful balance of lemony zing and sweet goodness makes each bite a refreshing treat.
- Versatile Dessert: Whether it’s a picnic, birthday party, or a cozy night in, these bars fit every occasion.
- Crowd-Pleaser: Everyone loves lemon bars! They’re bound to disappear quickly, leaving your guests asking for more.
- Simple Ingredients: With just a handful of pantry staples, you’re always ready to bake up a batch!
Tips for Success
To ensure your lemon bars turn out perfectly every time, here are some tried-and-true tips I’ve learned along the way. First, be sure to use fresh lemon juice and zest—this really enhances the flavor! If you can, zest the lemons before juicing them; it makes the process a bit easier.
Next, don’t skip on cooling time! Allowing the bars to cool completely in the pan is key to achieving clean cuts and that ideal texture. If you’re in a hurry, pop them in the fridge for a quick chill—trust me, it makes a difference!
If you find the filling is a bit too tangy for your taste, feel free to adjust the sugar slightly. Adding an extra tablespoon or two can balance that bold lemon flavor. Finally, dusting with powdered sugar just before serving not only looks beautiful but adds a lovely sweetness to every bite. Happy baking!
Variations of Lemon Bars
If you’re feeling adventurous and want to switch things up, there are plenty of delicious variations you can try with your lemon bars! For a fruity twist, consider adding fresh berries like blueberries or raspberries into the filling. They pair beautifully with that tangy lemon flavor!
Another fun idea is to mix in some herbs—basil or mint can add a refreshing note that’s unexpected but delightful. If you’re a coconut lover, try folding in some shredded coconut for a tropical vibe. And for a fun textural element, a sprinkle of crushed graham crackers on top before baking adds a nice crunch!
These variations keep your lemon bars exciting and give you a chance to experiment. Enjoy the creativity!
Storage & Reheating Instructions
Storing your leftover lemon bars is super simple! Just place them in an airtight container and pop them in the refrigerator. They’ll stay fresh for up to a week, but trust me, they’re usually gone well before that!
If you want to enjoy them warm, you can reheat individual squares in the microwave for about 10-15 seconds. Just make sure not to overdo it, or they might get a bit chewy. If you prefer them cold, they’re equally delicious straight from the fridge—perfect for a refreshing treat on a warm day. Enjoy your lemony goodness!
Serving Suggestions
When it comes to serving your delightful lemon bars, the options are endless! For a refreshing twist, consider pairing them with a scoop of creamy vanilla ice cream or a dollop of whipped cream. The coolness complements the zesty bars beautifully!
If you’re feeling fancy, serve them alongside fresh berries or a berry compote to add a pop of color and flavor. A cup of hot tea or iced lemonade makes for a perfect beverage pairing, enhancing that bright lemony taste. And don’t forget, a sprinkle of powdered sugar on top not only adds sweetness but also makes your lemon bars look absolutely irresistible. Enjoy!
Print
Lemon Bars: 7 Irresistible Steps to Sweet Sunshine Delight
- Total Time: 50 minutes
- Yield: 16 bars 1x
- Diet: Vegetarian
Description
Lemon bars are a tangy and sweet dessert, perfect for any occasion.
Ingredients
- 1 cup all-purpose flour
- 1/2 cup unsalted butter, softened
- 1 cup granulated sugar
- 2 large eggs
- 1/4 cup fresh lemon juice
- 1 teaspoon lemon zest
- 1/2 teaspoon baking powder
- 1/4 teaspoon salt
Instructions
- Preheat your oven to 350°F (175°C).
- In a bowl, mix flour and butter until crumbly.
- Press the mixture into a greased baking pan.
- Bake for 15 minutes.
- In another bowl, whisk sugar, eggs, lemon juice, lemon zest, baking powder, and salt.
- Pour the mixture over the baked crust.
- Bake for an additional 20 minutes.
- Allow to cool, then cut into squares.
Notes
- Store in the refrigerator for up to a week.
- Dust with powdered sugar before serving for extra sweetness.
- Prep Time: 15 minutes
- Cook Time: 35 minutes
- Category: Dessert
- Method: Baking
- Cuisine: American
Nutrition
- Serving Size: 1 bar
- Calories: 150
- Sugar: 12g
- Sodium: 50mg
- Fat: 7g
- Saturated Fat: 4g
- Unsaturated Fat: 2g
- Trans Fat: 0g
- Carbohydrates: 20g
- Fiber: 0g
- Protein: 2g
- Cholesterol: 40mg
Keywords: Lemon Bars, Dessert, Sweet Treat