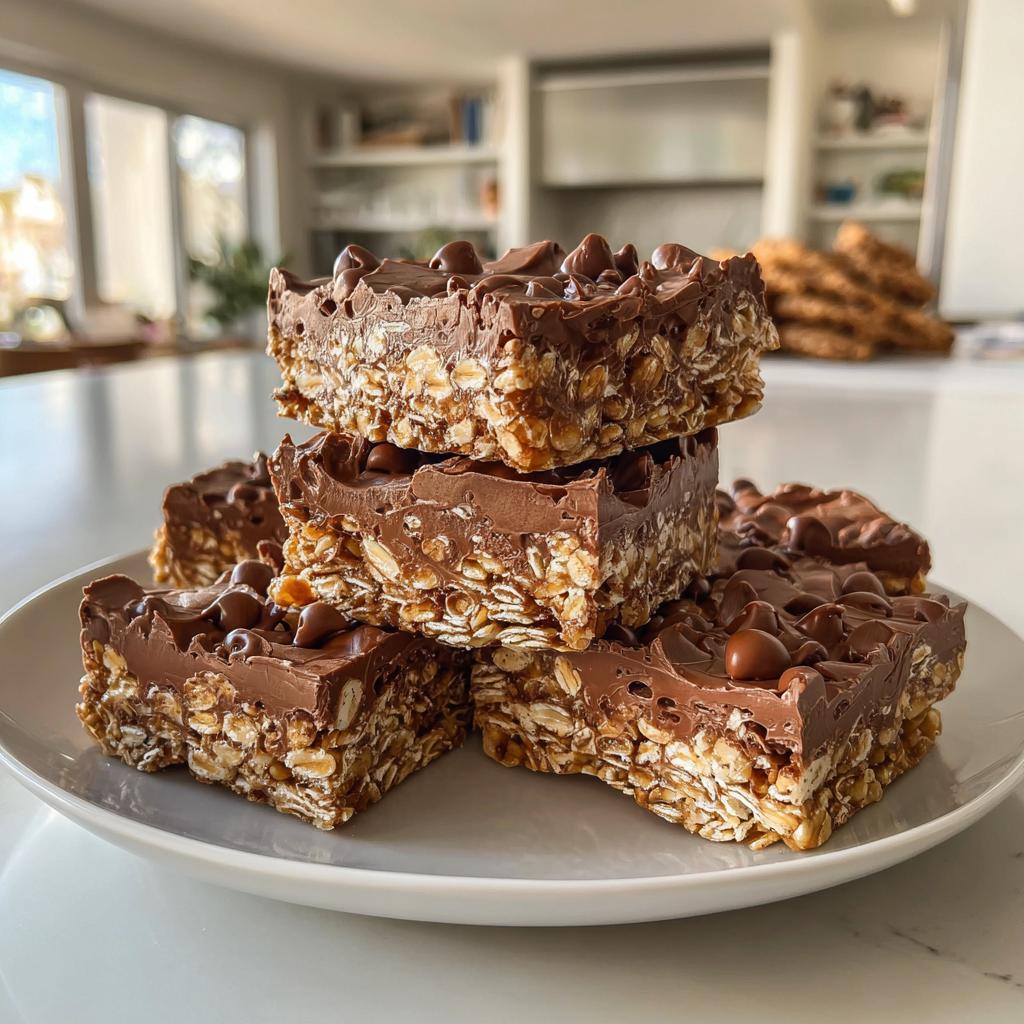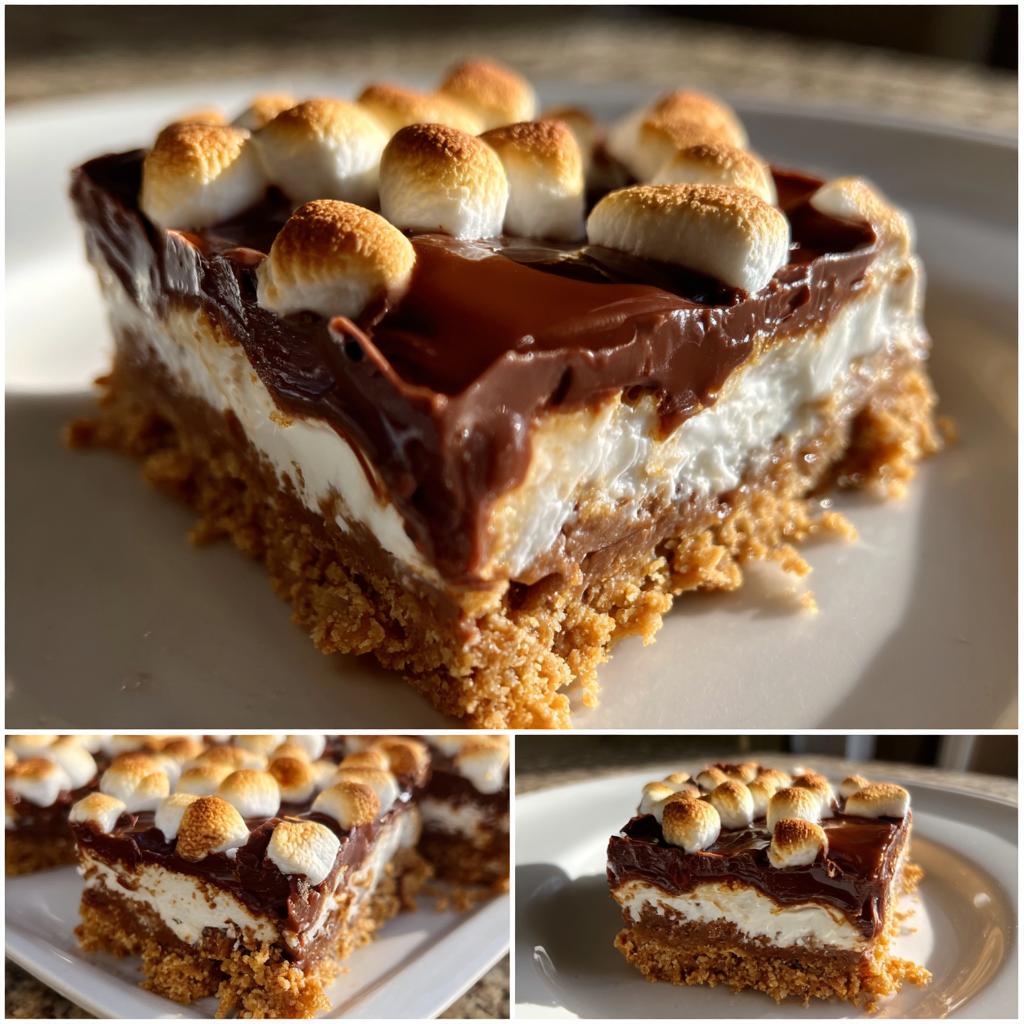
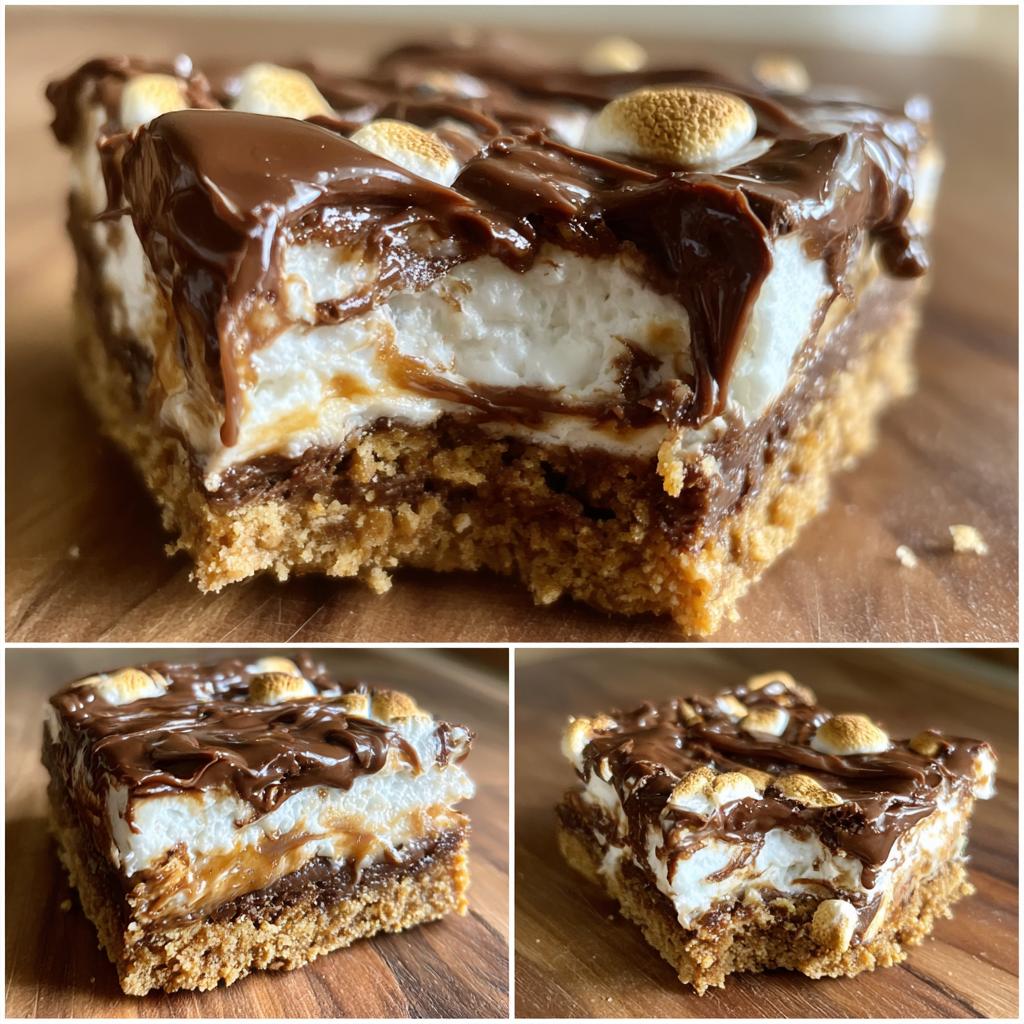
There’s something truly magical about no-bake desserts, isn’t there? They’re quick, simple, and oh-so-delicious, making them a go-to for any occasion. One of my absolute favorites has to be these No-Bake S’mores Bars! Imagine the classic flavors of a campfire s’more—crunchy graham crackers, gooey marshmallows, and rich chocolate—all packed into a delightful bar that requires zero baking. It’s perfect for those warm days when you want something sweet but don’t want to heat up the kitchen. Trust me, once you take your first bite, you’ll be transported back to summer nights by the fire, roasting marshmallows and sharing stories. Let’s dive into the recipe and make some magic happen!
Ingredients for No-Bake S’mores Bars
Gathering your ingredients for these No-Bake S’mores Bars is half the fun! Here’s what you’ll need:
- 2 cups graham cracker crumbs: You can crush them yourself using a food processor or by placing them in a zip-top bag and whacking them with a rolling pin—great stress relief!
- 1 cup chocolate chips: Milk chocolate is classic, but feel free to play around with dark chocolate for a richer flavor.
- 1 cup mini marshmallows: These little guys are the stars of the show, adding that nostalgic marshmallow goodness.
- 1/2 cup unsalted butter, melted: This helps bind everything together, giving the bars a rich texture.
- 1/2 cup powdered sugar: This sweetens the mixture just right, balancing out the chocolate and marshmallows.
Make sure to have everything measured out and ready to go before you start—this will make the process super smooth and enjoyable!
How to Prepare No-Bake S’mores Bars
Making these No-Bake S’mores Bars is a breeze, and I promise you’ll love every step! Let’s get started on this delicious journey.
Step 1: Combine Ingredients
First up, grab a large bowl and toss in your graham cracker crumbs, melted butter, and powdered sugar. Use a spatula or wooden spoon to mix everything together until it’s well combined. You want this mixture to be crumbly yet slightly sticky—think of it as a sandy texture that holds together when you squeeze it. If it feels too dry, don’t hesitate to add a touch more melted butter!
Step 2: Press into Baking Dish
Next, take your mixture and pour it into a lined baking dish (I recommend an 8×8 inch dish for thick bars). Now comes the fun part! Using your hands or the back of a measuring cup, press the mixture firmly and evenly into the bottom of the dish. It’s super important to pack it tightly; this will help the bars hold their shape once they’re cut. Trust me, a good, solid base is key to avoiding crumbles later!
Step 3: Melt and Pour Chocolate
Now, let’s melt those chocolate chips. You can do this in a microwave-safe bowl, heating in 30-second intervals, stirring in between until smooth. Alternatively, you can use a double boiler on the stove. Once melted, pour the chocolate over your pressed graham cracker base, using a spatula to spread it out evenly. It should coat the crust in a luscious layer of chocolate goodness!
Step 4: Add Marshmallows
Here comes the best part! Sprinkle those mini marshmallows over the melted chocolate, making sure they’re evenly distributed. Feel free to go a little overboard—more marshmallows mean more fun! Gently press them down a bit into the chocolate so they stick, but don’t worry about making them perfect; a little messiness adds to the charm.
Step 5: Refrigeration
Finally, it’s time to chill! Pop your baking dish into the refrigerator and let it set for at least 2 hours. This step is crucial because it helps the bars firm up and makes cutting them much easier. Once they’re chilled, take them out, slice into bars, and get ready to enjoy a taste of nostalgia in every bite!
Nutritional Information for No-Bake S’mores Bars
Now let’s talk about what you’re getting in each scrumptious piece of these No-Bake S’mores Bars! Each bar is packed with flavor and a delightful crunch, but it’s good to know what’s inside. Here’s the estimated nutritional breakdown per serving:
- Calories: 200
- Total Fat: 10g
- Saturated Fat: 5g
- Unsaturated Fat: 3g
- Trans Fat: 0g
- Cholesterol: 15mg
- Sodium: 90mg
- Carbohydrates: 25g
- Fiber: 1g
- Sugar: 12g
- Protein: 2g
Keep in mind that these values are estimates and can vary based on specific ingredients used. But rest assured, you’re indulging in a sweet treat that’s just the right balance of satisfaction and nostalgia!
Tips for Success with No-Bake S’mores Bars
Ready to make the best No-Bake S’mores Bars ever? Here are some handy tips to ensure your bars turn out perfectly every time!
First, don’t skimp on the graham cracker crumbs; they’re the foundation of these bars! If you want a twist, try using cinnamon graham crackers for an extra kick of flavor.
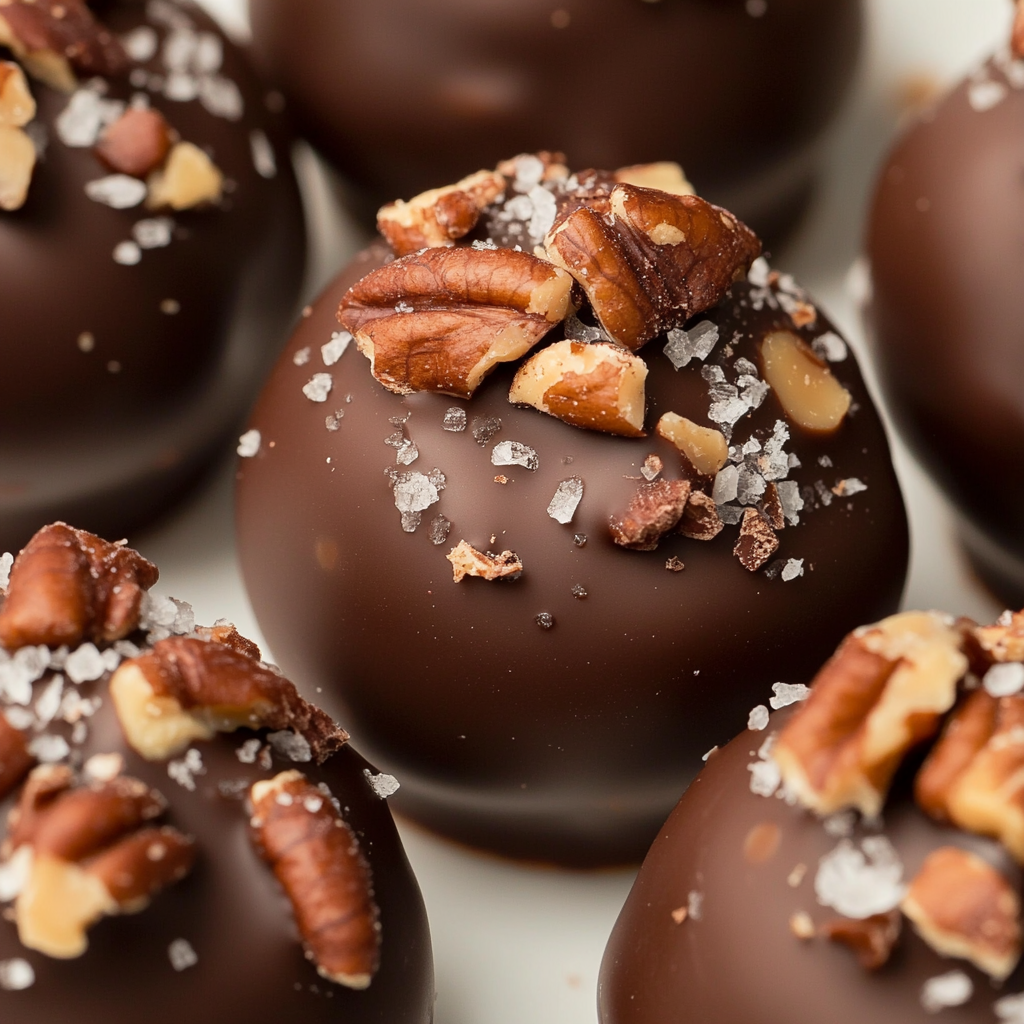
Need a chocolate swap? Dark chocolate is a fantastic option if you’re looking for a richer taste. And if you’re feeling adventurous, add some chopped nuts or a sprinkle of sea salt on top for a delightful crunch.
As for storage, keep your bars in an airtight container in the fridge. They’ll stay fresh and delicious for up to a week! Just be sure to separate layers with parchment paper to avoid sticky situations. Trust me, these tips will help you create a dessert that’s not only tasty but also a joy to share!
Variations on No-Bake S’mores Bars
The beauty of these No-Bake S’mores Bars is their versatility! You can easily switch things up to keep them exciting and cater to different tastes. For a richer flavor, try using dark chocolate instead of milk chocolate. It brings a delicious depth that pairs perfectly with the sweetness of the marshmallows.
If you’re in the mood for a bit of crunch, consider adding some chopped nuts like walnuts or pecans into the graham cracker mixture. They add a delightful texture and nutty flavor that complements the bars beautifully. You can also incorporate peanut butter; just mix in a few tablespoons with the melted butter for a nutty twist!
Feeling adventurous? Top your bars with a drizzle of caramel sauce or even a sprinkle of sea salt to balance the sweetness. The options are endless, so let your creativity run wild!
Storage & Reheating Instructions
To keep your No-Bake S’mores Bars fresh and tasty, store them in an airtight container in the refrigerator. This will help maintain their delicious texture and flavor for up to a week. Just be sure to separate the layers with parchment paper or wax paper to prevent them from sticking together—nobody wants a gooey mess!
If you find yourself with leftovers (and that’s a big if!), you can simply slice the bars and keep them in the fridge. When you’re ready to indulge again, just take them out and enjoy them cold. There’s no need to reheat these bars; they’re best served chilled, capturing that delightful, refreshing sweetness. Trust me, they’re a perfect treat for any time of day!
FAQ About No-Bake S’mores Bars
Got questions about making these No-Bake S’mores Bars? Don’t worry, I’ve got you covered! Here are some common inquiries folks have:
Can I use regular chocolate instead of chocolate chips?
Absolutely! You can use any chocolate you love, like chopped chocolate bars or even chocolate frosting if you’re feeling adventurous. Just make sure it melts smoothly for the best results.
How long do these bars last in the fridge?
These tasty treats will stay fresh in an airtight container for up to a week. Just keep them chilled to maintain that perfect texture!
Can I make these gluten-free?
Yes! Simply swap out the graham cracker crumbs for gluten-free graham crackers or use crushed gluten-free cookies. It’s an easy way to ensure everyone can enjoy them!
What can I use instead of mini marshmallows?
If you can’t find mini marshmallows, you can cut regular marshmallows into smaller pieces or even use marshmallow fluff for a smooth topping. Both work well and taste delicious!
Can I freeze No-Bake S’mores Bars?
You can! Just wrap them tightly in plastic wrap and store in an airtight container. They’ll keep well in the freezer for up to a month. When you’re ready to enjoy, let them thaw in the fridge overnight.

No-Bake S’mores Bars: 5 Steps to Irresistible Bliss
- Total Time: 2 hours 15 minutes
- Yield: 12 bars 1x
- Diet: Vegetarian
Description
Delicious no-bake s’mores bars made with graham crackers, chocolate, and marshmallows.
Ingredients
- 2 cups graham cracker crumbs
- 1 cup chocolate chips
- 1 cup mini marshmallows
- 1/2 cup unsalted butter, melted
- 1/2 cup powdered sugar
Instructions
- Combine graham cracker crumbs, melted butter, and powdered sugar in a bowl.
- Press the mixture into a lined baking dish.
- Melt chocolate chips and pour over the crust.
- Sprinkle mini marshmallows on top of the chocolate.
- Refrigerate for at least 2 hours before cutting into bars.
Notes
- Store bars in the refrigerator for best results.
- You can substitute dark chocolate for milk chocolate.
- Prep Time: 15 minutes
- Cook Time: 0 minutes
- Category: Dessert
- Method: No-Bake
- Cuisine: American
Nutrition
- Serving Size: 1 bar
- Calories: 200
- Sugar: 12g
- Sodium: 90mg
- Fat: 10g
- Saturated Fat: 5g
- Unsaturated Fat: 3g
- Trans Fat: 0g
- Carbohydrates: 25g
- Fiber: 1g
- Protein: 2g
- Cholesterol: 15mg
Keywords: No-Bake S’mores Bars, dessert, easy recipe, chocolate, marshmallow