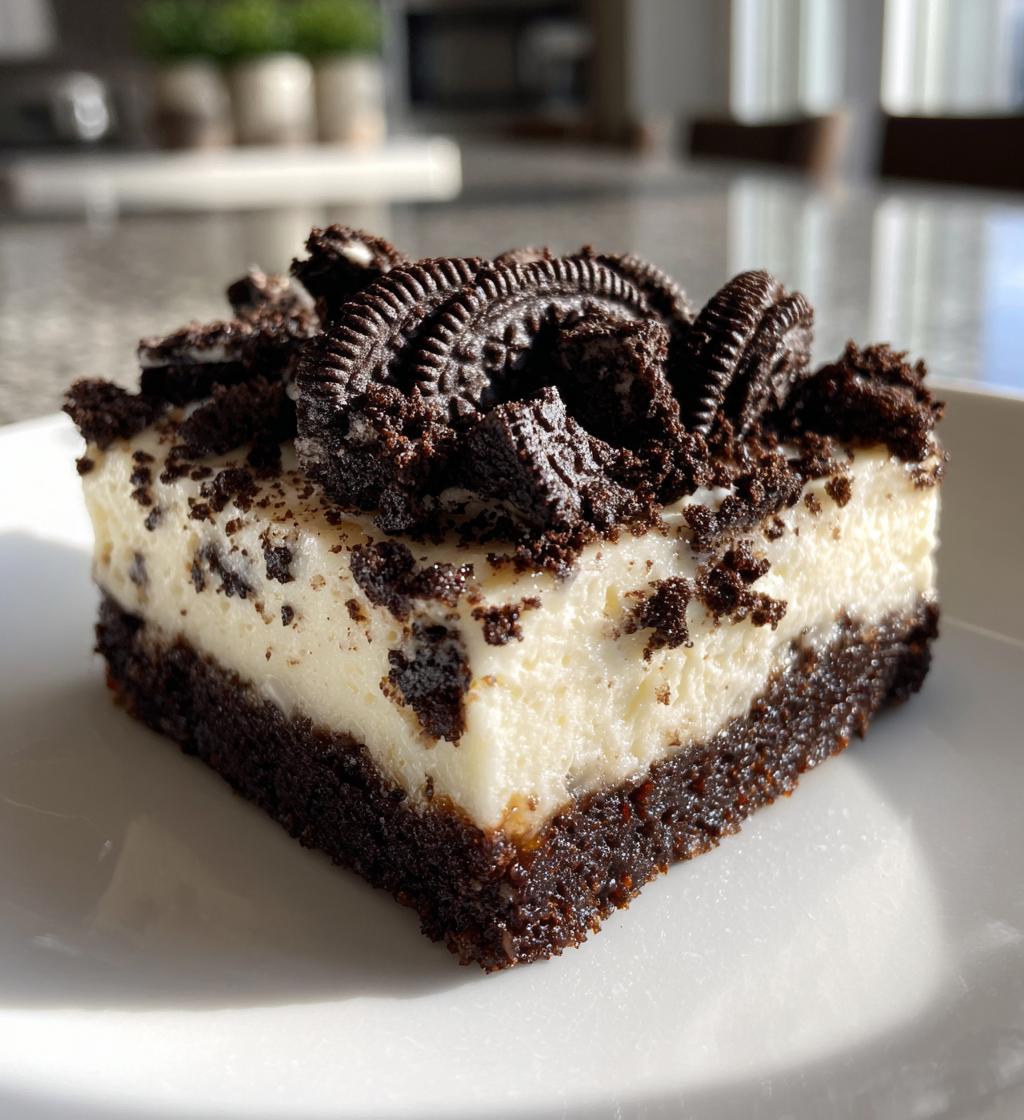
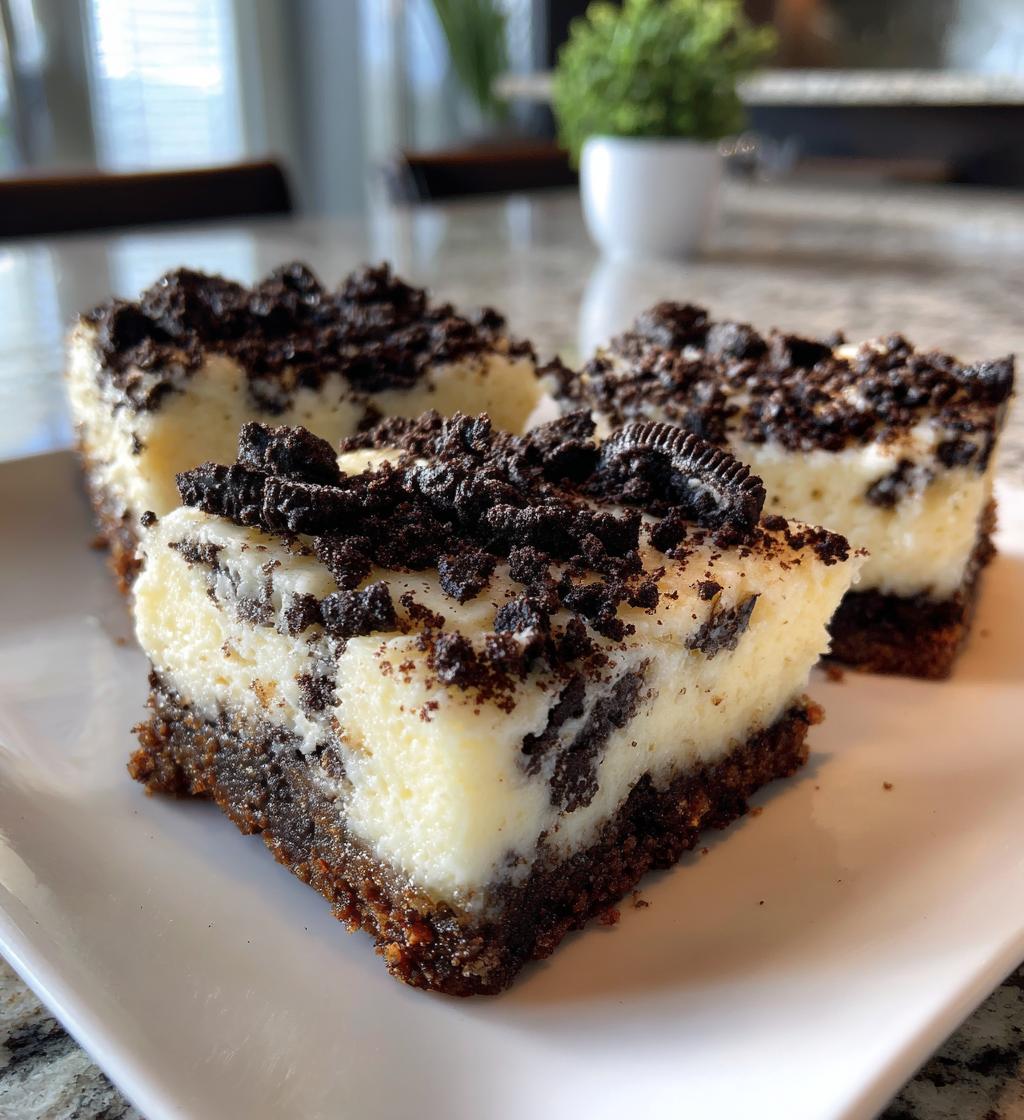
There’s something truly magical about whipping up a dessert in your own kitchen. The way ingredients transform into something delightful, filling your home with sweet aromas, is just the best! Let me tell you about my absolute favorite treat: Oreo Cheesecake Bars. These little squares of joy combine the creamy richness of cheesecake with the beloved crunch of Oreos, making every bite a heavenly experience.
My love for these bars started years ago when I was trying to impress a group of friends for a movie night. I wanted to make something easy yet indulgent, and boy, did this recipe deliver! I remember the first time I pulled them out of the fridge, the anticipation bubbling as I cut into them. The creamy filling contrasted perfectly with the crunchy crust, and I couldn’t help but smile as my friends devoured them in seconds. Now, they’re my go-to dessert for any gathering! Trust me, once you make these Oreo Cheesecake Bars, you’ll be hooked too – they’re perfect for satisfying that sweet tooth and will definitely steal the show at your next party!
Ingredients for Oreo Cheesecake Bars
Alright, let’s get down to the good stuff! Here’s what you’ll need to whip up these delectable Oreo Cheesecake Bars:
- 20 Oreo cookies, crushed: These are the stars of the show! You’ll want to crush them into fine crumbs for that perfect crust.
- 1/4 cup butter, melted: This adds richness and helps bind those cookie crumbs together. Make sure it’s nice and melted for easy mixing!
- 16 oz cream cheese, softened: Using softened cream cheese is key for a smooth, creamy filling. Take it out of the fridge ahead of time so it can come to room temperature.
- 1/2 cup granulated sugar: This will sweeten your filling just right. No one wants a bland cheesecake!
- 1 tsp vanilla extract: Trust me, this adds an incredible flavor boost. Use the real stuff if you can!
- 2 large eggs: These help bind everything together and create that creamy texture. Let them sit out for a bit before using for best results.
- 1 cup whipped cream: Fold this in gently to give your cheesecake filling that light, airy texture. You can use store-bought or make your own!
- 8 Oreo cookies, chopped, for topping: These will give your bars a lovely finishing touch and some extra crunch on top.
Gather all these ingredients, and you’re ready to make some magic happen in the kitchen!
How to Prepare Oreo Cheesecake Bars
Now that we’ve got our ingredients lined up, it’s time to dive into the preparation! Don’t worry, it’s super straightforward and totally worth it when you see (and taste!) the final result. Let’s get to it!
Step-by-Step Instructions
- Preheat the oven: First things first, preheat your oven to 350°F (175°C). This is crucial so your cheesecake bars bake evenly!
- Make the crust: In a mixing bowl, combine the crushed Oreo cookies with the melted butter. Stir until everything is well coated and resembles wet sand. This mixture needs to hold together, so make sure it’s not too dry!
- Press it into the pan: Grab a greased 9×9 inch baking pan and firmly press the Oreo crust mixture into the bottom. I like to use the back of a measuring cup to really pack it down evenly. This helps it hold together after baking!
- Prepare the filling: In another bowl, beat the softened cream cheese until it’s nice and smooth. Add in the granulated sugar and vanilla extract, mixing until fully combined. You want it fluffy and creamy, so take your time!
- Add the eggs: Here’s where we bring it all together – add the eggs one at a time. Mix well after each addition to ensure it’s fully incorporated. This step is key for a smooth texture!
- Fold in the whipped cream: Gently fold in the whipped cream using a spatula. Be careful not to deflate it too much; we want that light, airy texture in our cheesecake!
- Pour over the crust: Now, pour that luscious filling over your prepared crust, smoothing out the top with a spatula. It should look beautiful and creamy!
- Add the finishing touch: Sprinkle the chopped Oreo cookies on top. This adds a delightful crunch and makes the bars look extra tempting!
- Bake it up: Pop the pan into the preheated oven and bake for 25-30 minutes. Keep an eye on it; you want it to be set but still slightly jiggly in the center.
- Cool down: Once baked, let the bars cool at room temperature for about 30 minutes before transferring them to the fridge. They need at least 4 hours to chill and set properly, so patience is key here!
And there you have it! Follow these steps, and you’ll be well on your way to creating some irresistible Oreo Cheesecake Bars that’ll have everyone coming back for seconds!
Why You’ll Love Oreo Cheesecake Bars
Let me tell you why these Oreo Cheesecake Bars are destined to become your new favorite dessert. They’re seriously amazing for so many reasons!
- Easy to Make: With straightforward steps and minimal fuss, you don’t need to be a baking pro to pull these off! Just follow along, and you’ll feel like a kitchen superstar.
- Delicious Flavor: The rich, creamy cheesecake pairs perfectly with the chocolatey crunch of Oreos. Each bite is a heavenly blend of textures and tastes that’ll keep you coming back for more.
- Crowd-Pleaser: I can’t tell you how many times I’ve brought these to gatherings, and they disappear faster than you can say “Oreo”! Everyone from kids to adults adores them.
- Perfect for Any Occasion: Whether it’s a birthday party, holiday celebration, or even just a cozy movie night at home, these bars fit right in. They’re versatile enough for any event!
- Make Ahead: You can prepare these in advance and let them chill in the fridge, making them a stress-free dessert option for busy days.
Trust me, once you taste them, you’ll be hooked! These bars are everything you want in a dessert – easy, delicious, and sure to impress!
Tips for Success with Oreo Cheesecake Bars
Alright, let’s make sure your Oreo Cheesecake Bars turn out absolutely perfect! Here are some tried-and-true tips that I’ve picked up along the way to help you avoid any common pitfalls and achieve the best results:
- Use Room Temperature Ingredients: Make sure your cream cheese and eggs are at room temperature before you start mixing. This helps create a smooth, lump-free filling. Trust me, nobody wants a bumpy cheesecake!
- Don’t Overmix: When you’re combining the filling, be careful not to overmix after adding the eggs. You want everything to be well combined, but overmixing can lead to a denser texture. Just mix until it’s smooth, and then stop!
- Check for Doneness: Keep an eye on your bars as they bake. They should be set around the edges but still have a slight jiggle in the center. If they look too firm, they might be overbaked. Remember, they’ll continue to set as they cool!
- Cool Gradually: After baking, let your bars cool at room temperature before refrigerating. This helps prevent cracks from forming on the surface. Patience is key here!
- Chill for Flavor: Don’t skip the chilling time! Allowing your Oreo Cheesecake Bars to sit in the fridge for at least 4 hours (or even overnight) lets the flavors meld beautifully. You’ll be rewarded with a creamier texture!
- Experiment with Toppings: Feel free to get creative with your toppings! Besides the chopped Oreos, you can drizzle chocolate or caramel sauce, or even add a dollop of whipped cream for an extra special touch.
With these tips in your back pocket, you’re all set to create Oreo Cheesecake Bars that will wow your family and friends. Happy baking!
Nutritional Information for Oreo Cheesecake Bars
Now, let’s chat about the nutritional side of these scrumptious Oreo Cheesecake Bars! While they’re definitely a treat meant for indulgence, it’s nice to know what you’re enjoying, right? Here’s an estimated breakdown per serving (one bar):
- Calories: 250
- Fat: 15g
- Saturated Fat: 8g
- Trans Fat: 0g
- Cholesterol: 50mg
- Sodium: 200mg
- Carbohydrates: 27g
- Fiber: 1g
- Sugars: 18g
- Protein: 3g
Keep in mind that these values are estimates based on the ingredients used, so they might vary a bit depending on your specific brands or any substitutions you make. But hey, when you’re enjoying these delicious bars, who’s counting calories anyway? Just revel in the creamy, crunchy goodness!
FAQ About Oreo Cheesecake Bars
Got questions? Don’t worry, I’ve got you covered! Here are some common queries about making these delightful Oreo Cheesecake Bars, along with some handy answers to help you out.
Can I use different cookies for the crust?
Absolutely! While Oreos are a classic choice, you can totally mix it up. Some great alternatives include chocolate sandwich cookies, graham crackers, or even peanut butter cookies for a fun twist. Just make sure to crush them into fine crumbs like you would with Oreos for that perfect crust texture!
How long can I store leftovers?
If you manage to have any leftovers (which is rare, trust me!), you can store them in an airtight container in the refrigerator for up to 5 days. Just make sure they’re well covered to keep them fresh and prevent them from absorbing any odors from the fridge. You can also freeze them for up to 2 months – just let them thaw in the fridge before enjoying again!
Can I make these bars ahead of time?
You bet! These Oreo Cheesecake Bars are perfect for making ahead. In fact, they get even better after chilling for a while! You can prepare them a day or two in advance and let them sit in the fridge to set. Just remember to cover them well, and they’ll be ready to impress when it’s time to serve!
Storage & Reheating Instructions for Oreo Cheesecake Bars
Once you’ve whipped up these amazing Oreo Cheesecake Bars and (if you can resist) enjoyed a few, you’ll want to know how to keep them fresh for later. Luckily, storing them is super simple!
First off, if you have any leftovers, let them cool completely at room temperature before storing. This helps avoid condensation, which can make the bars soggy. Once they’re cool, transfer them to an airtight container. You can keep them in the fridge for up to 5 days. Just make sure they’re well covered to keep that creamy goodness intact!
Feeling the need to stash some for a later date? You can freeze these bars for up to 2 months! Just slice them into squares and wrap each piece tightly in plastic wrap, followed by a layer of aluminum foil to keep them extra fresh. When you’re ready to enjoy them again, simply move the wrapped bars to the fridge for a few hours or overnight to thaw. They’ll taste just as delicious as the day you made them!
Reheating isn’t really necessary since these bars are best enjoyed chilled. But if you’re craving a warm dessert, you can pop a piece in the microwave for about 10-15 seconds. Just be careful not to overheat them – you want that creamy filling to stay luscious!
With these storage and reheating tips, you can savor your Oreo Cheesecake Bars over several days, or even weeks, without losing any of that delightful flavor and texture. Happy snacking!
Print
Oreo Cheesecake Bars: 5 Steps to Irresistible Bliss
- Total Time: 4 hours 45 minutes
- Yield: 16 bars 1x
- Diet: Vegetarian
Description
Delicious Oreo cheesecake bars with a creamy filling and a crunchy crust.
Ingredients
- 20 Oreo cookies, crushed
- 1/4 cup butter, melted
- 16 oz cream cheese, softened
- 1/2 cup granulated sugar
- 1 tsp vanilla extract
- 2 large eggs
- 1 cup whipped cream
- 8 Oreo cookies, chopped, for topping
Instructions
- Preheat the oven to 350°F (175°C).
- Mix crushed Oreo cookies with melted butter.
- Press the mixture into the bottom of a greased 9×9 inch baking pan.
- In a bowl, beat cream cheese, sugar, and vanilla until smooth.
- Add eggs one at a time, mixing well after each addition.
- Fold in whipped cream gently.
- Pour filling over the crust and smooth the top.
- Sprinkle chopped Oreo cookies on top.
- Bake for 25-30 minutes or until set.
- Let cool, then refrigerate for at least 4 hours before serving.
Notes
- Use room temperature cream cheese for easier mixing.
- Store leftovers in the refrigerator.
- These bars can be frozen for up to 2 months.
- Prep Time: 15 minutes
- Cook Time: 30 minutes
- Category: Dessert
- Method: Baking
- Cuisine: American
Nutrition
- Serving Size: 1 bar
- Calories: 250
- Sugar: 18g
- Sodium: 200mg
- Fat: 15g
- Saturated Fat: 8g
- Unsaturated Fat: 5g
- Trans Fat: 0g
- Carbohydrates: 27g
- Fiber: 1g
- Protein: 3g
- Cholesterol: 50mg
Keywords: Oreo, cheesecake, dessert, bars